Showing posts with label Tutorial. Show all posts

Wednesday, 12 October 2022

Thanks


I really love leaves and foliage of any kind really, so when I saw the embossing folder for this oak leaf on Amazon I ordered it immediately! I actually thought it was just a regular sized 3D embossing folder, but it turned out to be an Impresslit from Sizzix. It was much smaller than I had anticipated plus it contained the dies for the leaves too!
Having both the impression and the die made the folder really thick and was too thick to go through my Spellbinders Platinum 6 using any of the normal plates, so I set about finding a solution. 


This video also shows how I coloured the leaves, giving them shimmer, but using regular alcohol inks.
The challenge at Addicted to CAS is Autumn, so this card seems ideal for that challenge.


I would be delighted if anyone watching my video could also subscribe to my channel as this makes it pop up to more crafters so I understand!
Thanks so much!


Wednesday, 17 August 2022

Double Stamped Vellum


Some of you may know that some time ago I made a video using a new technique, whereby the front of a piece of vellum was embossed with white embossing powder, then the paper turned over and stamped on the back using the same stamp, but in a coloured ink.  The effect is really pretty especially if the image has spaces where the stamping on the reverse can show through. here I used a rose leaves stamp by Impression Obsession. The thank you is by Memory Box and I used some of the vellum for the shadow part of the die cut, adding a white payer beneath it to allow the stamping to show through, This is popped up onto foam tape. I think that the overall effect is really delicate.
The folks at Split Coast Stampers asked me to do a tutorial for them and you can find that here

 Double stamped Vellum

This is a second video which I made using the technique.

Friday, 8 July 2022

Happy Birthday


When I saw the challenge at the Male Room, I realised that I had posted the perfect card for it the previous day, so I went about making another in a similar vein. 

My previous card has a knot on it and so I thought I would do another with a similar knot, but not exactly the same. This took me back to my Guiding days and this knot is called a sheet bend.
Here's how to do it!

The sentiment is by Gummiapan and the posts from Memory Box, the anchor was a freebie from a magazine. The source for the seagull escapes me, but that may be Memory Box too!

The only source of colour is the seagull's beak and legs!
We're off to our grandson's Speech Day today on his last day of school for the academic year. There is a to be a picnic in the grounds so it should all be great fun!


Sunday, 20 September 2020

Really Trying


Have you ever got into that mindset where you have an idea or a fancy for doing something new and come across innumerable difficulties in order to get there...  but you just can't give it up?
This card is the end result of one such endeavour. It began when I decided that I wanted to try to cut out a stamped image using my Silhouette Portrait.
I had to begin by stamping and scanning the image I wanted (in this case a Stampin' Up French Foliage leaf), only to find that for some reason my printer wouldn't scan to my computer. I ended up using all sorts of daft things like my phone and a QR code to get the image into my computer via Google Drive. I didn't even know there was such a thing before. Anyway it got there somehow or other. Then I had to retrieve it, to drop into my Silhouette software.  Needless to say I managed that somehow. The bit I thought was going to be tricky, actually getting the leaf traced, offset and cut was easy. So I cut five out in a line.
Next the image had to be stamped correctly onto each cut out. I decided that I wanted to use three colours of ink on each leaf so this is how I went about it.
Taking the sheet of card with the row of 5 apertures, I placed it in my stamping platform, over a sheet of plain copy paper. I put the stamp where I thought was about central to the aperture and inked with  light coloured ink.

I looked to see what the positioning was like.

As you can see, in the second picture, the stamp was not quite in the right place, so keeping the copy paper still, I moved the cut out card more centrally over the first stamped image and tried again with a slightly deeper shade of ink.
Still not quite there, so again keeping the copy paper still I moved the top card ever so slightly and tried again with yet a different shade of ink.
Happy with this positioning , I then proceeded to use the same aperture to insert each of the cut leaves in turn, to ink with three different autumnal shades of ink, starting with the lightest and stamping between each addition, I ended with the strongest shade.

I began by using the colours from CAS Colours and Sketches


Not having these exact colours at my disposal, I used Adirondak inks in Butterscotch, Hazelnut and Cranberry. I have to say that they look to be a really close match.
Inkspirational has the prompt word Day this time so my sentiment reflects that!


It was altogether a bit of a trying experience, especially as my computer decided to deny me permission to save the photographs of the stages of making this card, which I had just sent via email from my phone. It asked me to contact the administrator, which is me!!!! .I don't understand quite how they all arrived in the right place eventually, but I did learn a few things along the way... and this time I didn't give up!

Saturday, 11 August 2018

Inkspirational Guest Designer

I was lucky enough to be a top pick in a challenge at Inkspirational and was invited to be Guest Designer for them.  What fun!
Here is the inspirational pic for this challenge!
 I made a card using Lawn Fawn's fun Reveal Wheel dies. I cut out the front plate of the card, extending the depth a little in order to fit a British sized card. This is easy to do by partially cutting from one end, lifting the die and placing it a little lower down the card, turning the die and card round and partially cutting from the other end.
Here is a video I made extending a sentiment die but the principle is similar for extending the length of the Lawn Fawn die.


I coloured the wheel part with Gelatos in yummy Ice cream colours, and stamped the sentiment and tiny hearts from the Lawn Fawn complementary set of stamps.

Here is another card I made, this time using stamps from Altenew. I added a simple 'Sprinkles' dry embossed backdrop from Creative Embossing. The sentiment is from WPlus 9.
It's always a thrill to be asked to Guest Design for a challenge and I would like to thank Inkspirational enormously for this opportunity!

Saturday, 12 September 2015

Lack of inspiration!

I have had plenty of days when things didn't work out as I had hoped but, this time it was the pits. I have got more rejects than I have had in many a year! I hope that I may be able to resurrect some bits from some of the cards, but the recycle bin is feeling quite pleased with itself!
This is the best of a bad job!
It's so simple it's almost not there, but I like the layout and the composition and I love this stamp!
It's from Deep Red, a company I can't exactly say I've heard of and I don't remember where I bought it... probably at a show somewhere or other. It does have a little twinkle added, but I didn't manage to capture it in the photo.The one consolation is that it will be a really quick to make if I'm a few cards short at the last minute!
The computer generated sentiment uses the fonts  VNI-HL Thuphap and Lydian BT.

I don't really care much for this one, but I thought I should I'd add it anyway.  Again it's a computer generated sentiment,  using the same two fonts as the previous card. A Hero Arts stamp coloured with watercolour pencils and blended with a water brush. The background has been twinkled with Clear Wink of Stella and the stork and the blanket with Glamour Dust.

Both of these cards are for the ONE LAYER challenge at Less is More this week!
I hope you'll join in and have some fun!

There were a couple of queries about how I do my sentiments. This is a tutorial I wrote some time ago on the Less is More blog, but is still applicable even with slightly later versions of Word.
  1. Click Insert and then click Shapes, then choose Text box and insert the appropriate number of boxes. I use one text box for each part of the sentiment 
  2. Divide your sentiment into components and write the parts in separate boxes
  3. Change the fonts to the size and style you prefer.
  4. Highlight the boxes and click on Format and then the arrow in the lower right corner on Text Box or Shape Styles
  5. When the box pops up (Fill) drag the Transparency toggle to 100% and click OK
Leave the box outlines in place at this time to allow them to be moved into position more easily.
  • When highlighted, the boxes can be moved around and overlapped and because of the transparency setting, the text will not be obliterated by another box.
  • When happy with the positioning, (boxes can be fine tuned by highlighting and using the arrow keys to manipulate them) select all the text boxes together by holding shift and highlighting them, and when in the Format tab, click Shape Outline and select No Outline. If you right click at this stage and group the boxes, the sentiment will stay as a unit and can then be moved around the page.
If using a digital image I also pop that into a text box, so that I can place that exactly where I want it.
I have found that on my laptop, if I have the view set to 105% the screen image is just the same size as an A4 sheet, so that if I hold a piece of paper cut to the size of my card against the screen, I can see exactly where the words will appear.

I hope this helps, any queries.... just email me!

Monday, 29 December 2014

A second attempt


Here is a short video to show how you can make a length of straight border fit around a circular or oval shape.

Extending Dies


My son bought me a new web-cam for Christmas so that I could take some videos of various craft projects and tutorials.

All I need to do now is to get my head around how to use it!

Here is a practice piece!

I hope it will be useful to someone!

I will get better hopefully!

Saturday, 6 December 2014

Elongating die-cuts

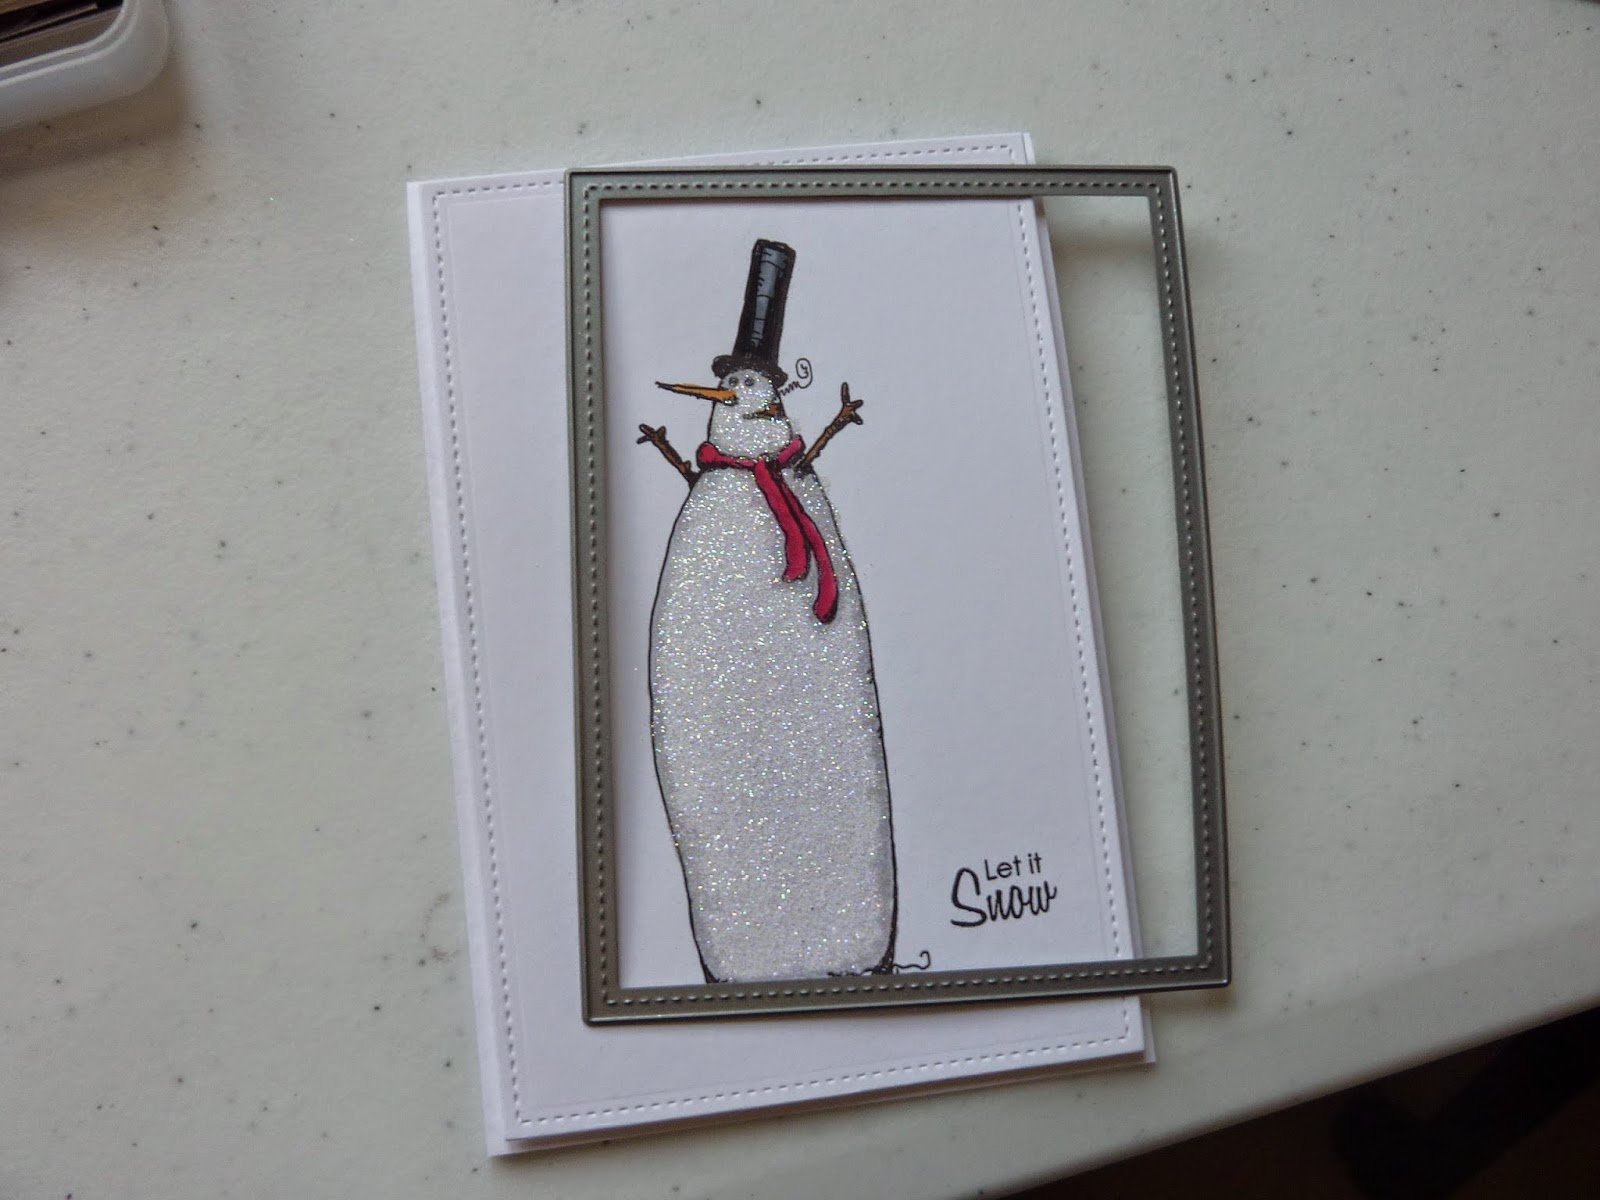
I have been asked the question today about the stitched dies I used to cut the panels for my snowman card in the previous post.
I used the Lil Inkers dies and I have both the large and small sets.
As these are American dies and the sizes used across the pond are a little different from those used in the UK, I do a little bit of jiggery pokery in order to make them fit UK measurements.
For this card I used the largest die from the Lil' Inkers Small set.
Here you can see it against my image.
You may notice that the die-cut is longer than the die!
This is how I achieve this.
  • Begin by arranging the die around one end of the image
  • Add the top plate and wind the die through the machine, STOPPING before you get right to the end of the die
  • Winding in the reverse direction, run the card back out of the machine
  • Now remove the die and arrange it around the other end of the image, ensuring that the stitches match with the previously cut ones. (I move the die and card together  from side to side so I can feel if the notches on the die are aligned in with the previous cuts) .
  • When I'm happy that I have the stitches engaged with the previous cut and that the length is what I need, I run the card through the machine once more...again STOPPING before I reach the end of the die.
So that's how you make a die-cut, longer than the die that cuts it!

If you have any questions, DO email me, if you leave a comment requiring a response, answers don't always get back to you!

Thursday, 30 October 2014

New technique...to me!

Somewhere in Blogland I saw a card that was made using an embossing folder together with a die to double emboss a piece of card.
This is my attempt at it!
I used a Sizzix holly embossoing folder with a Die- namics stitched strips metal die to emboss some card for the front of this card.
It takes a little sorting out of plates etc to get the correct sandwich, but this is what I did, to use in my Cuttlebug

  • Base plate
  • OPEN embossing folder (using only one side)
  • Solid die (facing upward)
  • Card
  • Kirsty Allsop Cuttlebug embossing mat (It's slightly thicker than an old style Cuttlebug embossing mat)
  • C Plate
DO NOT CLOSE THE EMBOSSING FOLDER!
I based this card on the sketch from Freshly Made Sketches
Having dug out some DP for a previous challenge I decided to try to use up a little more for Christmas cards. I have no idea what make this is. I used a dienamics pierced pennant for the front but shortened it somewhat to fit the sketch.
The snowflakes are from Simon Says Stamp and the joy sentiment from Sizzix.

Saturday, 21 September 2013

Felt or Fabric

A folded flower
I think that some of the themes for challenges at LIM seem to come through the stratosphere! This week Jen and I came up with the theme Felt or Fabric!
The ideas seem fab at the time but when it comes to making them, even though I thought of  them, what to do often eludes me!
Here I used a scrap of fabric which I discovered after a rummage in the loft. It must have been in a box since the 70's I should think. I can't see me using it for a garment, but it may come in as a contender for some patchwork.
I cut a strip using my rotary fabric cutter and mounted it on a strip of card with hand scored edges.


To make the flower...
  • Cut 4 scalloped circles with a Nestie  
  • Fold each one in half

  • Place one folded circle on top of another folded circle... the second at right angles to the first

  • Place a third folded circle on top of the second one..again at right angles to it 

  • The final circle is placed on the top of the pile, again at right angles to the previous one, tucking in half of it behind the first circle... as you would when folding down the flaps on the top of a cardboard carton
The centre of the flower if secured with a few small stitches through all the layers in the corner of each piece. The addition of a button for the flower centre finishes it off.
It means that because of the folds in the fabric a little more depth is achieved.
Here ready made Stampin' Up felt shapes were used for flowers, but these would be SO easy to make with a few small dies and scraps of felt! The stems were stamped with the edge of a piece of thick card.
Here is a more complicated felt shape. Dies cut felt easily, but it is delicate when cut in fiddly shapes, so I add double side adhesive to the back of the felt before cutting, so that it's easy to peel and stick on your project.
The way I position the sentiment to fit in a given shape is explained on the "Less is More" blog.
Here is another in similar vein, again using die-cut felt for the butterflies.
With my recent cruise and then being in Bath looking after my grandchildren overnight last week I don't seem to have got into the swing of card making, something I must remedy very soon.

Monday, 30 July 2012

Squished flower background technique

All of these cards were made using the squished flower technique!


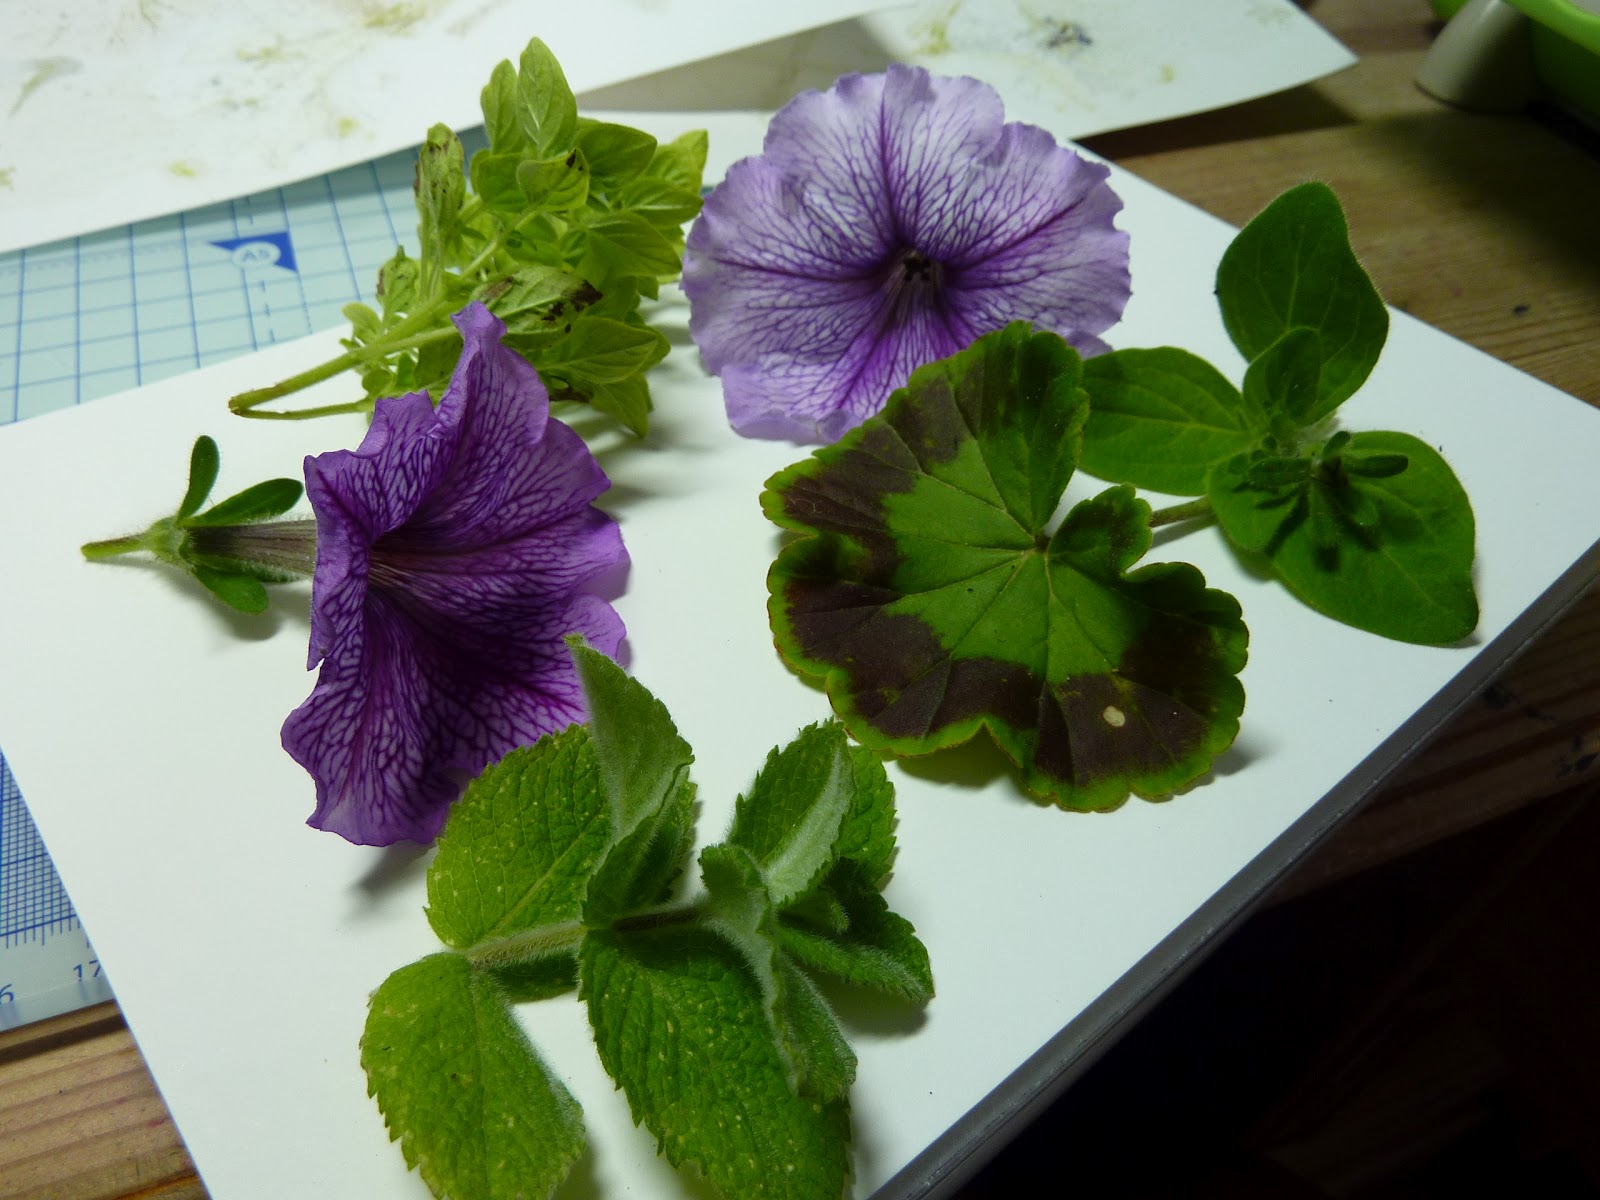
Several people have asked me for a tutorial on how I do this, so here it is.
  • Take some fresh  flowers and leaves and arrange them on a sheet of absorbent card, placing a second sheet on top.
  • The sandwich I used in my Cuttlebug for pressing the flowers is 
Baseplate
B plate
2 pieces of card with the flowers between them
Tan Mat
B plate


  • Run the sandwich through the machine. It needs a reasonable amount of pressure, enough to make some of the juice run from the plants. Remember to clean the rollers carefully afterwards.
  • Open the sandwich and lift off the debris of the plants.
  • Clean any residue left on the card with a brush.
  • The finished result may look a little dreary, but when sections are used either with dies or other shaped panels the effects can be most satisfying.

In the above photograph, the card at the left of the picture was pressed without the addition of the tan mat and the effect is much gentler and less vibrant as less liquid was extruded from the plants.

I hope that this helps!


Monday, 31 October 2011

Memory Box Tag Die Cutting Tutorial

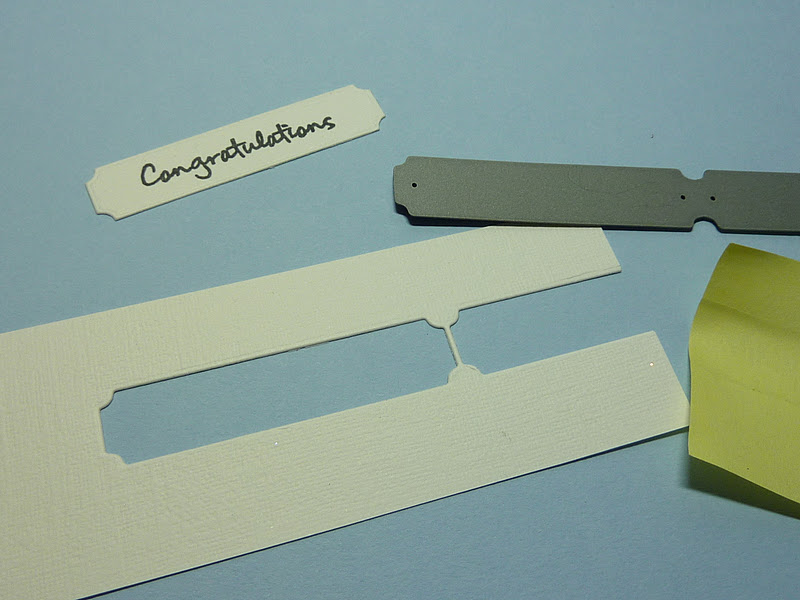
I recently purchased some tag dies from Memory Box. I was a little nonplussed by the fact that these are solid dies and therefore you can't see exactly where you are placing them once you have stamped the sentiment.... Soooooooo I set about trying to think of a way around the problem and this is what I have come up with!
I cut 2 guides from card stock one for the large tag and one for the small one and cut off part of each leaving
one complete, small template and one complete, large one.
For this sentiment I wanted to use the larger of the two dies, so I positioned that guide around the word.

I then placed the die into the template/guide and taped down the end not being used with some low-tack tape...this is actually a tiny Post it note.
I then carefully removed the guide and ran the card with the die attached, through my Cuttlebug.

The result, a perfectly positioned sentiment, with all the guesswork removed from the equation.
What do you think?