Thursday 28 February 2013

Mother's Day

I thought it was about time to get some Mother's Day cards made. I was asked for a few last week at my choir and had nothing to offer, so I have been trying to remedy that. Some people prefer to have Mothering Sunday in the sentiment rather than Mother's Day, so I made a few of each.
This one uses the sketch from CAS(E) this sketch, the colours from Dynamic Duos .
                                                     
This one has the Mothering Sunday sentiment, which I made on the computer, I don't remember seeing a commercially available version.
This one uses the sketch from Paper Players and the theme of a circle from CASology
                     
I made the sentiment on the computer and used Pink Petticoat paper for the base. The hearts I believe are Memory Box and and I used a couple of the centres of the die cut to add to the circle.

Wednesday 27 February 2013

A tiny touch of silver

A friend asked me to make a card for her husband to celebrate their 20th Anniversary... it doesn't seem two minutes since they were married, it must be a sign of old age on my part.
Among other accomplishments, he is a composer and so I wanted to get a little reference to music in somehow. I decided on this Sizzix embossing folder.The panel is from Spellbinders and the flourish (one and a half of them) I believe is from Dienamics.
I made the sentiment on the computer and added a couple of small die-cut hearts.
I have lost a new set of tiny heart dies, purchased recently from Simon Says Stamp and I'm really cross that I can't find them!!! I have only cut one set of hearts from them and now they're nowhere to be seen!
Grrrrrr!
Casual Fridays - Hi Ho Silver

Saturday 23 February 2013

Paper Piercing

I returned home yesterday and tried to make some cards for this week's challenge at "Less is More" and had no inspiration whatsoever! 
These are what I finally finished up with, but being so tired from my week away, I couldn't seem to get going!
This is a little heart from the SU set Hearts a Flutter with its co-ordinating die. The piercing was done with my EK Success gizmo which is used in conjunction with either my Scor Pal or Scor Buddy.
This one uses SU Framelits dies with a Studio G image and a Sentiment from Simon Says Stamp.The piercing was done with my pokey tool.
Once more details of this one are on the LIM blog, but it's simply Versamark with a whole bunch of different embossing powders sprinkled on. The piercing was done with both the previous methods.
The stamps used are from the SU Salebration set Bloomin' Marvelous (sadly with only one 'l').
The piercing on the panel has been turned into faux stitching for the challenge at ABC Challenges
I plan on taking it easy this weekend!

Saturday 16 February 2013

Up in the air

I am feeling a little 'up in the air' at the moment... we have had our darling granddaughter with us this week and she has been an absolute delight, but  we have to go to take her home and I will be staying on for a few days as she has a couple of additional days' holiday for two in-service day closures of her school.
Until Tuesday, my daughter will have no wifi service, so I have to get things sorted PDQ!
Here are my cards for this weeks Less is More challenge entitled Up in the Air...
'planes, balloons, rockets etc
Here is a Woodware image paper pieced using some scraps from my drawer. I think it's such a fun set.
This is a Stampin' Up image, now retired I believe simply added to a raised panel. the sentiment was cut with SU word window punch.
Sorry this is so short and sweet, but I seem to have a zillion things to do including more flat pack assembly this weekend!
HAve a good one!

Monday 11 February 2013

WOW Embossing Guest Designer

Yet more embossing!
I was asked recently to be the first Guest Designer on the WOW Embossing Powder blog. Their theme this time is Love and Romance.
Here is the card I made although the picture doesn't show the lovely gold sheen on the tag as well as I had hoped.
I stamped the WOW manuscript in red and clear embossed it, then cut it to the required size with a Nestabilities die. I cut the tag shape using a Quickutz die and punched a hole in one end.

I triple embossed this with WOW! Burgundy Red embossing powder, stamping into the third layer of molten powder with a triple heart stamp from the WOW! Gratitude set inked with Metallic gold. I brushed parts of the tag with Perfect Pearls in Heritage Gold. (Sadly I didn’t photograph this too well).

I added the ribbon through the hole, stamped part of the Shakespearean quote in a similar fashion to the music and added these to a topper layer and rounded the corners at the base of the card.

Embossing is one of my most favourite techniques and I have an article on the Split Negative Embossing technique, using WOW powders, in the March edition of Craft Stamper magazine.

Saturday 9 February 2013

One Layer Music

I coloured this Magenta image with watercolour pencils and a water brush, I find it a really restful process, not always highly successful I might add, maybe I should look at a few instruction videos. Nevertheless, I think that the colours here look fairly authentic.
The music definition is from Darkroom Door. I have heaps of music related stamps, but sadly this week, not a  lot of inspiration!

This second one is merely a little Artemio bird with a few hand drawn notes rising from his throat!
I am looking after my 4 year old granddaughter Daisy this week, I hope that she will make a card that I can blog to show you... she loves working in Granny's craft room. I'm really looking forward to spending time with her this week!

I meant to add this earlier this week, but time got away with me. It's a Tiddly Inks digi stamp, lightly coloured with Distress inks and that's it!

Wednesday 6 February 2013

Embossing, embossing!

I'm not sure if I did this technique correctly, however, I'm really pleased with the end result of this spot of embossing.
On Technique Tuesday, Mynnette showed what she called an 'Embedded Image' technique.
For my version, I triple embossed a Sizzix die cut heart, using Versamark and Red Tinsel embossing powder. When cool, I stamped the image from the SU Vintage Vogue set also in Versamark and embossed it with WOW Black Glint embossing powder. It does look really twinkly in real life.
The flourish I believe is from Dienamics.
I computer generated the sentiment in Dean Martin and Alex Brush fonts.
CASology - Fairytales
Simon Say Stamp - Have a Heart
ABC Challenges - Candy Hearts

Next week I shall be making cards with my 4 year old granddaughter Daisy when she comes to stay for half term... I hope!

Tuesday 5 February 2013

Waterfall Hearts

The other day I spotted this paper from Pink Petticoat and just had to buy it. It is produced in their new range of colours and they are just scrummy.
I printed off a sheet in soft truffle negative and proceeded to make a bunch of cards using snippets of this gorgeous paper.
This is the first which uses the sketch from CAS(E) this Sketch!
My choir requested some Valentine cards, so I thought I'd better get my tail in gear!
These are all sort of variations on a theme, but I just love this paper. This one uses my new gizmo for making stitching holes. It's from EK Success and is for use with my ScorPal. It works like a dream although the 'stitches' are rather difficult to see in this picture.
More of the same it seems!
Isn't it just brilliant paper!
I'll be off to my daughter's again this week, and bringing Daisy back to spend half term next week with Granny and Grandpops, although my husband may not be here all the time as he has to go off to Essex to look after his brother when he comes home from hospital following brain surgery!
We hope all goes well for him.

Saturday 2 February 2013

LIM's 2nd Birthday

We're celebrating at Less is More today.It's our second birthday and we have been delighted with the following of over 1700 crafters which we are lucky enough to have.
The standard of submissions is wonderful giving lots of inspiration.
This card used a Marianne die, Stampin' Up's  Vintage Vogue Flowers and a retired SU sentiment/ The base piece of cream card was merely crimped.
This one uses the stamp I designed for Craft Stamper Magazine and which was on the front cover in September last year.
It was heat embossed onto the little tile and then inked with SU Crumb Cake ink, applied with a sponge dauber. I then clear embossed the whole thing and added the pearls.
I have only two cards this week, as I have spent 4 days down at my daughter's new house...cleaning!
Floors have been steam mopped, carpets 'Vaxed', windows 'Karchered' (this window cleaning machine is amazing!), paintwork washed and sanitised and I'm now suitably exhausted. I gave up on the ovens and so  my daughter has called in the Oven Rescue man... they were completely beyond me, how anyone could contemplate cooking anything in such filthy appliances completely escapes me!
We also made up a chest of drawers from Ikea. All in all a busy few days!
She has a little decorating to do and then will be moving in with the children. She can't wait!
I hope you all can manage to join in with the colour challenge at Less is More in this birthday week, for our Kraft and Kreme CAS colour challenge.

Friday 1 February 2013

Craft Stamper Blog Hop

CRAFT STAMPER MAGAZINE
Blog Hop
If you have arrived here from Chris Dark's Blog (the Sketching Stamper), then you're in just the right place!
I have a technique for you today which I discovered a short time ago. 
It involves both heat and dry embossing and can achieve some stunning effects.
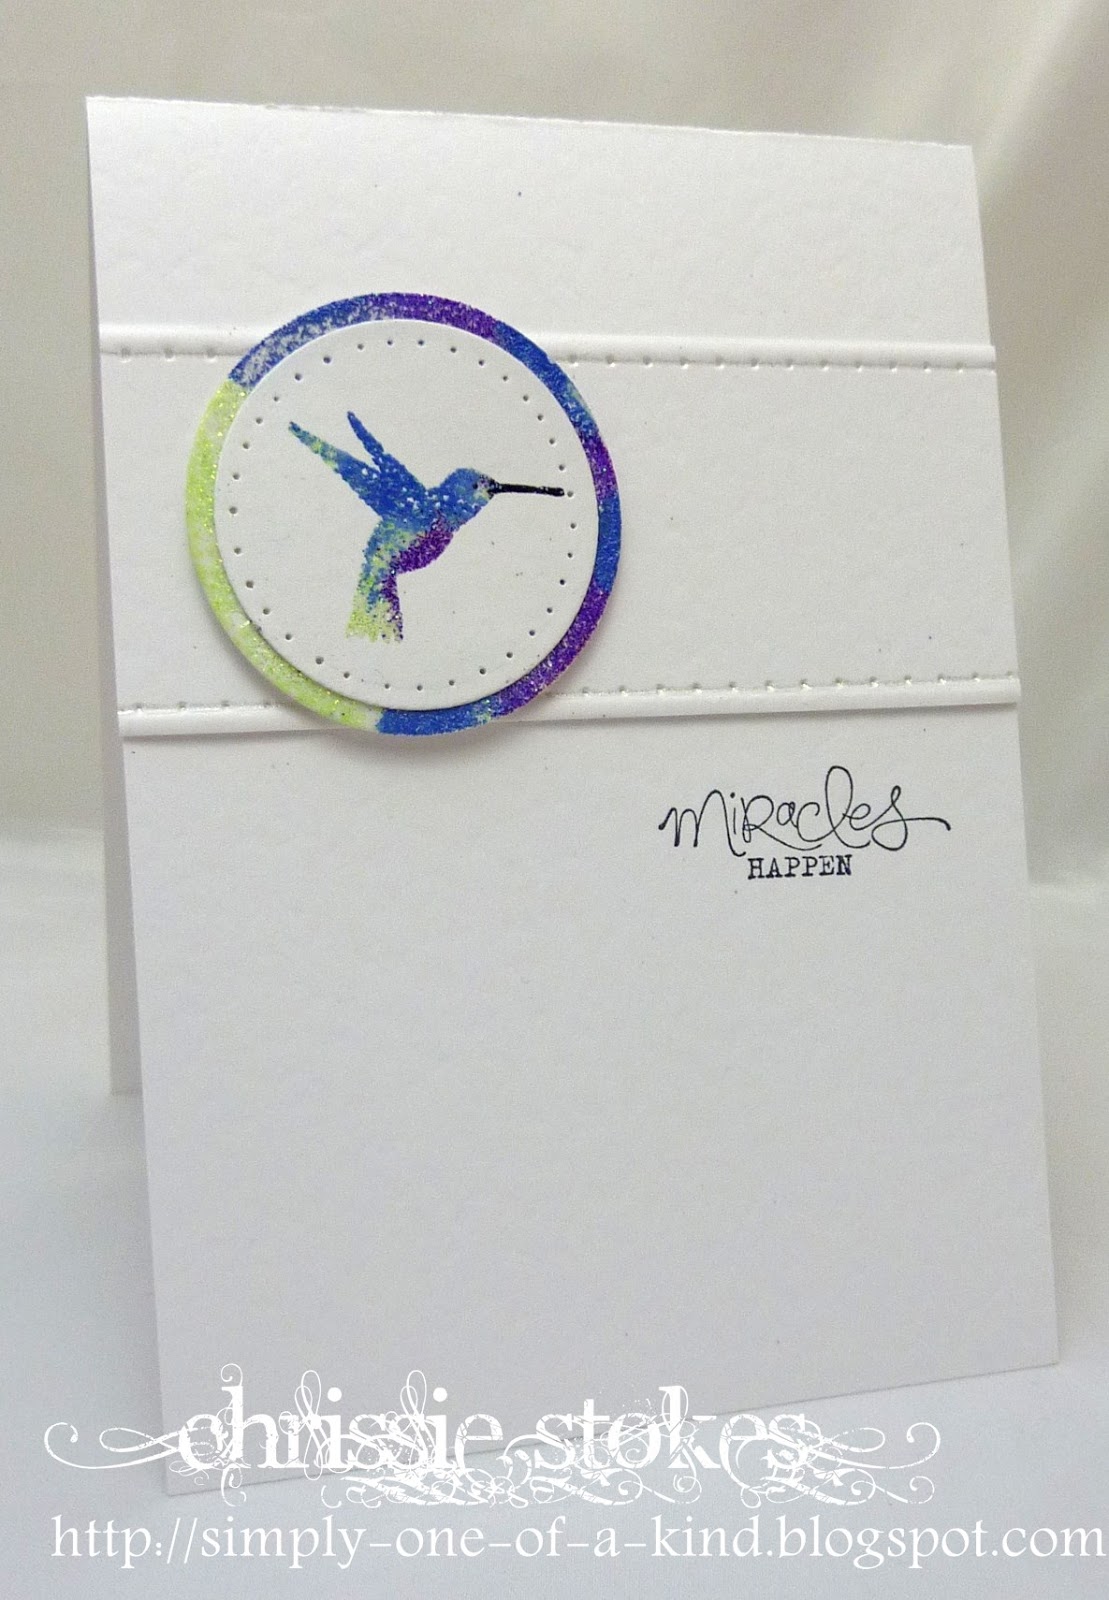
This is the card I made and here are the tools and products that you will need to make it
Begin by taking two contrasting Embossing Folders, one with a definite design and the other with a more all-over random pattern.
Ink the inner, de-bossed side of the definite design folder using Versamark. My folder is the Dandelion clocks from Craft Concepts. I removed any stray ink from the centres of the flowers with a Q tip stick.
Place the card inside the folder and run it through the die-cutting machine for the first embossing.
Sprinkle liberally with embossing powder. I used Ranger Distress Embossing powder in Aged Mahogany. For this technique, I love the rough, dull effect which distress powder produces.
Shake off the excess powder and apply heat from a heat gun. The powder does not change as radically as regular embossing powder, so check that it has in fact melted.
Once cooled, place the card into the second embossing folder and run through your machine once more.
I used a Cuttlebug harlequin design.

To get a greater distressed look, I sanded parts of the image, cut it to the size I wanted and distressed and inked the edges before mounting  it on some toning card and punching the edge to add a little interest.
The ribbon and butterfly completed the card.


Here you can see the effect of the sanding on the secondary embossing over the diamond shapes of the folder
Embossing is one of the things which I still find magical in the card making process... it's one of the things which makes it such fun!
The letter you need to collect from me is...
N
You now need to continue your journey by hopping over to visit 
Enjoy your trip and have fun!
Should you get lost at any point you can always revert back to the Craft Stamper Blog here.