Tuesday 31 July 2012

Free Stamp - Craft Stamper

Any of you who like Craft Magazines with a freebie may well like Craft Stamper. It has a free stamp on the cover every month and this time it was designed by ME!
Here is a card I made with it using my squished flower background yet again. This one isn't in the magazine, so I am free to blog it!
This one has just a suggestion of colour from the plants but I think it's a lovely effect.
If any of you use the stamp, do let me know where I can see your creation... I'd love to see what you come up with!
Thanks and enjoy!

Monday 30 July 2012

Squished flower background technique

All of these cards were made using the squished flower technique!


Several people have asked me for a tutorial on how I do this, so here it is.
  • Take some fresh  flowers and leaves and arrange them on a sheet of absorbent card, placing a second sheet on top.
  • The sandwich I used in my Cuttlebug for pressing the flowers is 
Baseplate
B plate
2 pieces of card with the flowers between them
Tan Mat
B plate


  • Run the sandwich through the machine. It needs a reasonable amount of pressure, enough to make some of the juice run from the plants. Remember to clean the rollers carefully afterwards.
  • Open the sandwich and lift off the debris of the plants.
  • Clean any residue left on the card with a brush.
  • The finished result may look a little dreary, but when sections are used either with dies or other shaped panels the effects can be most satisfying.

In the above photograph, the card at the left of the picture was pressed without the addition of the tan mat and the effect is much gentler and less vibrant as less liquid was extruded from the plants.

I hope that this helps!


Sunday 29 July 2012

LIM Sketch for Dynamic Duos

I decided to use our sketch from "Less is More" once more, this time using the colours from Dynamic Duos this week which are Early Espresso and Crumb Cake.
I used a strip of Stampin' Up, Crumb Cake card which I stamped with a Blockhead coffee bean stamp along its length. I added a little colour to parts of the beans and inked the edges of the strip. The cups are from Stampin' Up stamped in Early Espresso and clear embossed. The border was punched with a Martha Stewart punch and the sentiment added from Unity Stamps.
We went to watch Hampshire play cricket today, but following our picnic lunch the heaven's opened and the rain was torrential, so we decided to call it a day and came home.  However I just managed to see our first medal of the Games won... a silver in the ladies cycling!

Saturday 28 July 2012

Sketch time at Less is More


We have another simple sketch at "Less is More " this week.


Here is another of the squished flower and leaf backgrounds that I love to do. It's surmounted by a Memory Box Butterfly, using the same technique for the base layer.
More details are on the LIM blog.
This very simplistic version has a stamp from Local King coloured with markers before stamping. I used the same Martha Stewart punch for the edge, which punches easily through fairly thick card.
An early Christmas card stamped using Iced Spruce Distress Ink and embossed with Holographic Embossing powder.
I think it's a great colour!
I had a great birthday, a little shopping in the afternoon and then dinner in the evening with neighbours. We began next door for the starter and then came back here for the main course. We had Raclette and ate outside in the garden as it was a perfect evening. (It would have been too hot in the dining room anyway, as the Raclette machine gets really hot.) Then we went over the road for dessert, cheese and biscuits and coffee.
It's a great way to spend an evening, a great meal and you only have to prepare one course!
I'm afraid that my diet went for a burton last night, but I did have a good excuse!

Have a great weekend and do join us at "Less is More" for this sketch challenge.

Tuesday 24 July 2012

CASual Friday... Black Base

I made this card the other day, but life got in the way and I'm only just getting around to posting it... It's for CASual Friday's theme using a black base card.
The die is Memory Box of course and I built up the poppy heads with several layers of card, colouring and clear embossing the last layer.
The holey panel is also from a Memory Box die from Simon Says Stamp.
I tried stamping the sentiment about 10 times with different inks until I got a reasonable impression, I was beginning to think I'd lost my touch!
I'm now off to get a little something for my son's birthday... his birthday is on Saturday, the day after mine, what a great birthday present I had 36 years ago...even if it was a day later!
I'm going to send him the bird card from my previous post.. he has just bought a boat and so I think this will be very fitting!

Saturday 21 July 2012

Sewing

This week on "Less is More" we have the Theme of 'Sewing'!
I've always shied away from doing the 'real thing' but this time I thought I'd take the bull by the horns and get my machine out!
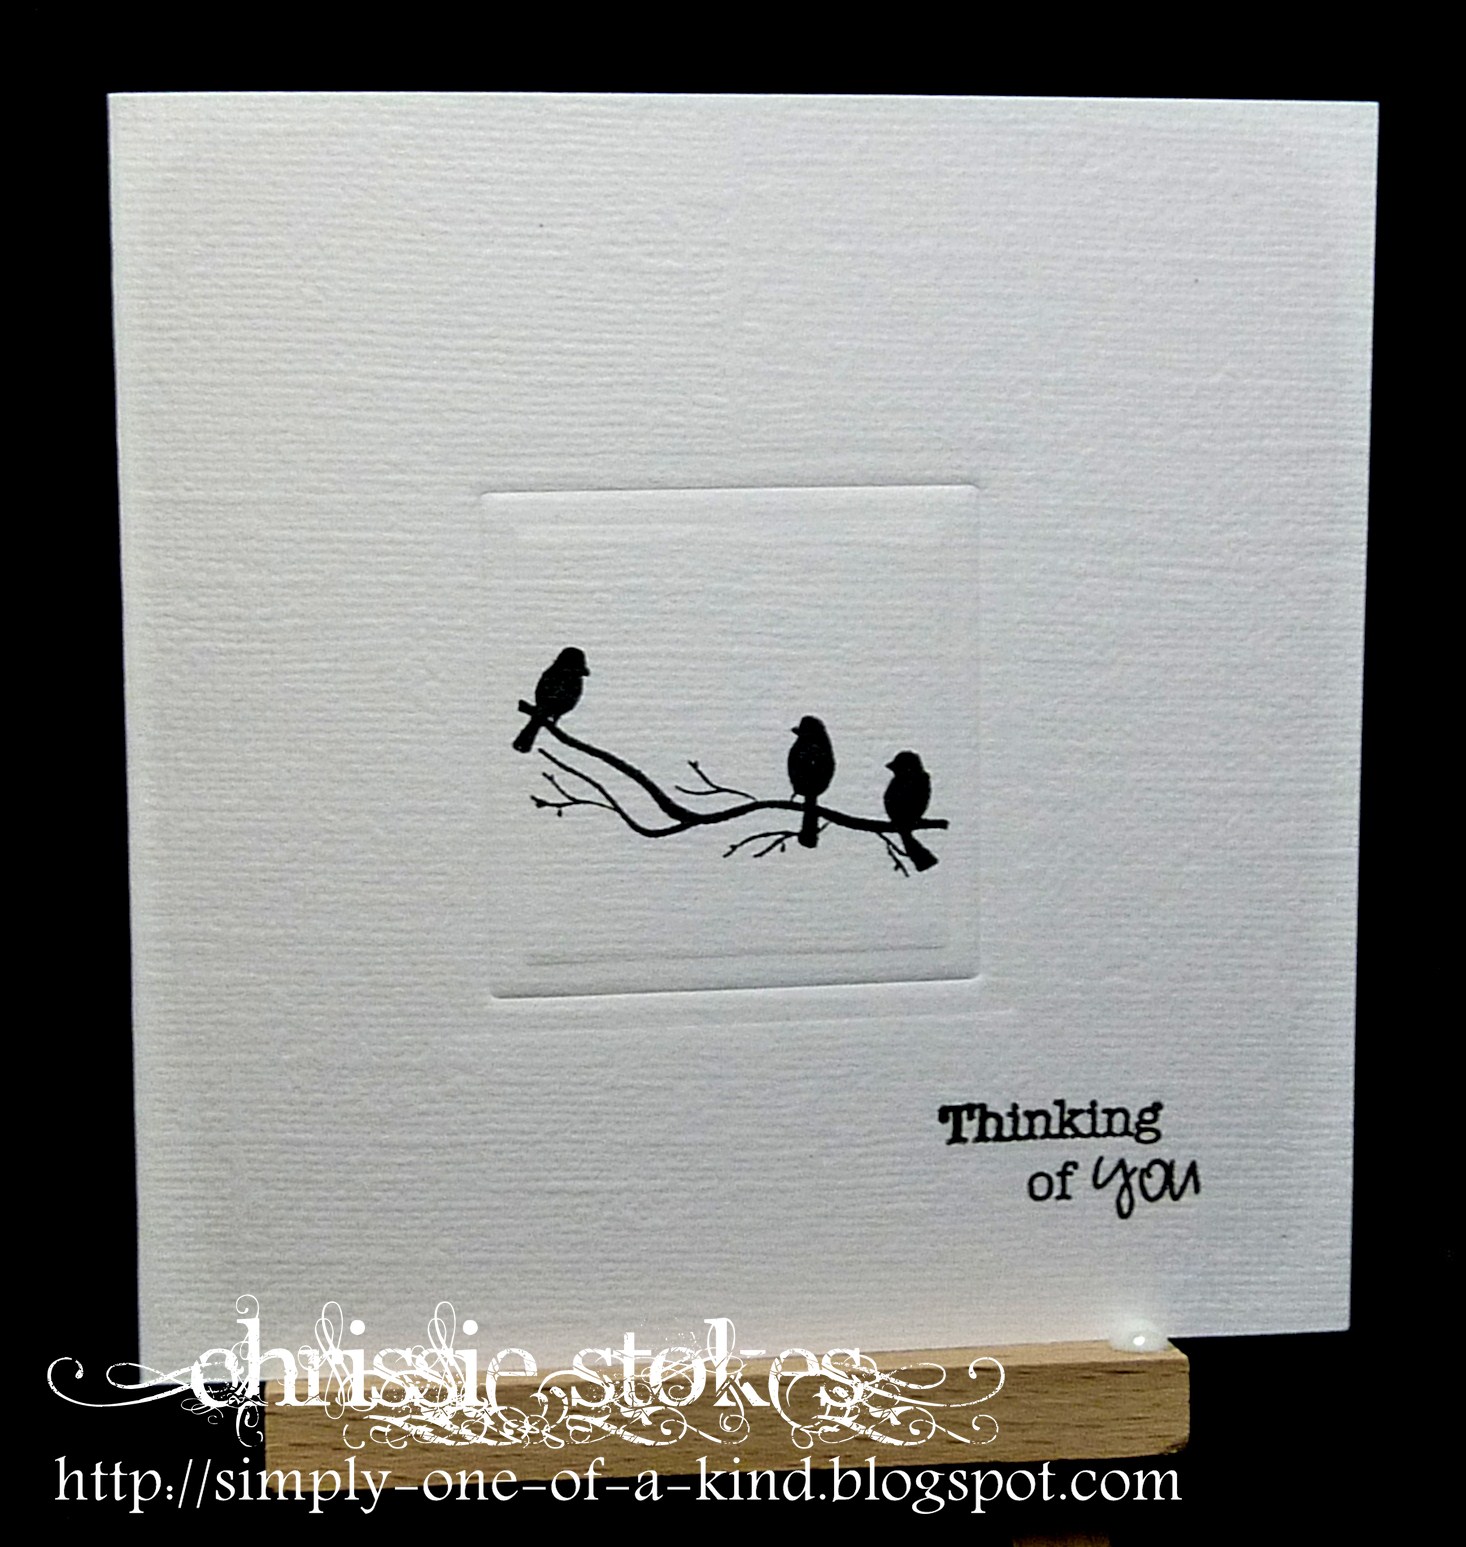
I stamped the birds with Memento Tuxedo Black ink and then ran the card back and forth through the machine trying to make the effect of waves.  This done I added a little colour with a few SU blue markers, adding the colour with a water brush. A touch of Glamour Dust to add a little twinkle to the water and that was it.
It did begin as a one layer, but a smudge of ink put paid to that idea. As it happens I think it's rather better that the backside of the sewing doesn't show inside the card now. The sentiment is from Stampin' Up.
Here is a card made with some of my latest dies. Those for the holes and the flowers are from Simon Says Stamp, by Memory Box and the sentiment panel is from Spellbinders. 


As this die has a series of holes around the edge, intended for creating an embossed notch effect, I decided to use this as a piercing guide to make faux stitching.
Once pierced, I drew in the 'stitches' with a Stampin' Up Marker. 
The line of 'stitching' across the card above the holes, was pierced using a pokey tool with my Tim Holtz ruler and drawn in the same way.


More real stitching here, surrounding a torn fragment of card stamped with some Rubbernecker grass stamps and edged with a little silver ink. The butterfly was die cut with a Dienamics die in silver gauze.


This one isn't really CAS as there isn't much white space, but I made it this week and it does have some faux stitching on it so I thought you might like to see it.
I was playing around with a bunch of stamps and various green inks and it just kinda happened.
Here you can see the sentiment panel again but this time you can see the effect that the holes made when embossed, as is intended.


Following my holiday I had only put on half a pound over the three weeks, which I thought was pretty amazing, so I still have a few pounds to go to get to my target, but today I bought a couple of dresses in a size that I last wore about 30 years ago!  Amazing!
Have a great weekend... tonight I shall be celebrating my friend's birthday with a group of friends, watching an open air performance of Much Ado About Nothing!  Let's hope it's dry!

Saturday 14 July 2012

Home from my holiday to LIM's One Layer Week!

I have just returned from nearly three weeks in France and Spain where we had a wonderful time. However, I would like to apologise to all those wonderful contributors to our Less is More challenges whose blogs I didn't manage to visit whilst I was away. Internet access wasn't always easy!
This picture shows me in  Alcalá de Henares, the birthplace of  Miguel Cervantes, sitting on the lap of Don Quixote, the most famous character from his novels. We stayed in Paradors which are wonderful state owned hotels located in beautiful, often ancient buildings... palaces, castles, convents, universities etc. I would recommend anyone to try them.
Back to challenges at "Less is More" which this time is One Layer Week with the theme 'Three'!
Here is a card with three cats, three colours and a sentiment containing three words (well, sort of... one being an abbreviation of two words). Sadly I don't know the make of the polymer stamp which was bought on eBay quite some time ago.
This one is simplicity itself, an embossed square framing a simple stamp of three birds, accompanied with a three word sentiment from Personal Impressions.
Here we have a card composed of three stamps.This lady is a stamp which Mandi gave me, which I masked before adding the background stamp using two shades of Distress Inks ...  plus the Personal Impressions sentiment.
Today I bought myself a new iron... I had plenty of laundry to try it out on after my holiday too... it's really rather splendid, I steamed up my specs a few times trying to get used to using it!
Do join us this week, one layer holds no fear for LIMettes these days!

Saturday 7 July 2012

Gold

A new month and another colour challenge at "Less is More". This time we have chosen GOLD. (I am quite partial to it myself... the real stuff that is!)
We are once more sponsored by WOW (Embossing powders), who is offering a caddy of 12 powders to our monthly winner. Wow what a fab prize. They are also offering a half price case with the purchase of 12 powders to anyone from our challenge.
This card incorporates a Sizzix border embossing folder design and a Martha Stewart  punched border. The little charm was silver, but I inked it with Versamark and embossed it with some WOW gold  embossing powder before adding the little flower shaped brad. The whole of the white panel is mounted on some gold card.
This is a commission for a friend. She wanted champagne glasses and lots of gold. I hope there's enough!
The image and punched flowers are from Stampin' Up, the embossing from Cuttlebug.
The sentiment is computer generated in Passions Conflict and Andalus fonts. 
I thought I would share what I have found to be a useful combo of colours to make the gold shade for the sentiment (at least on my printer)
Red 170 Green 140 Blue 29.
To make a custom colour in 'Word' click on the arrow to the side of the letter A in the Font section under the Home tab of the programme, Click on More Colours, then click the Custom tab and enter the above numbers in the appropriate boxes. Click OK.
Hey presto... gold writing!
Do join in the fun!