Showing posts with label Stencil. Show all posts

Monday, 11 April 2022

Just a note


It seems that I have been AWOL from my blog for a while so I thought I should remedy that. Here is a card made using part of a stencil, which I masked and inked with Hickory Smoke Distress Oxide ink. It was applied with a blending brush, using less colour the further up the stencil I went, to give an ombre effect. I added a couple of birds, stacked several times to give definition and a simple sentiment from Personal Impressions. I believe the birds are Memory Box.
CAS on Friday - Stencil
Happy Little Stampers - Anything Goes with Dies


Addicted to CAS - Animals


Saturday, 26 March 2022

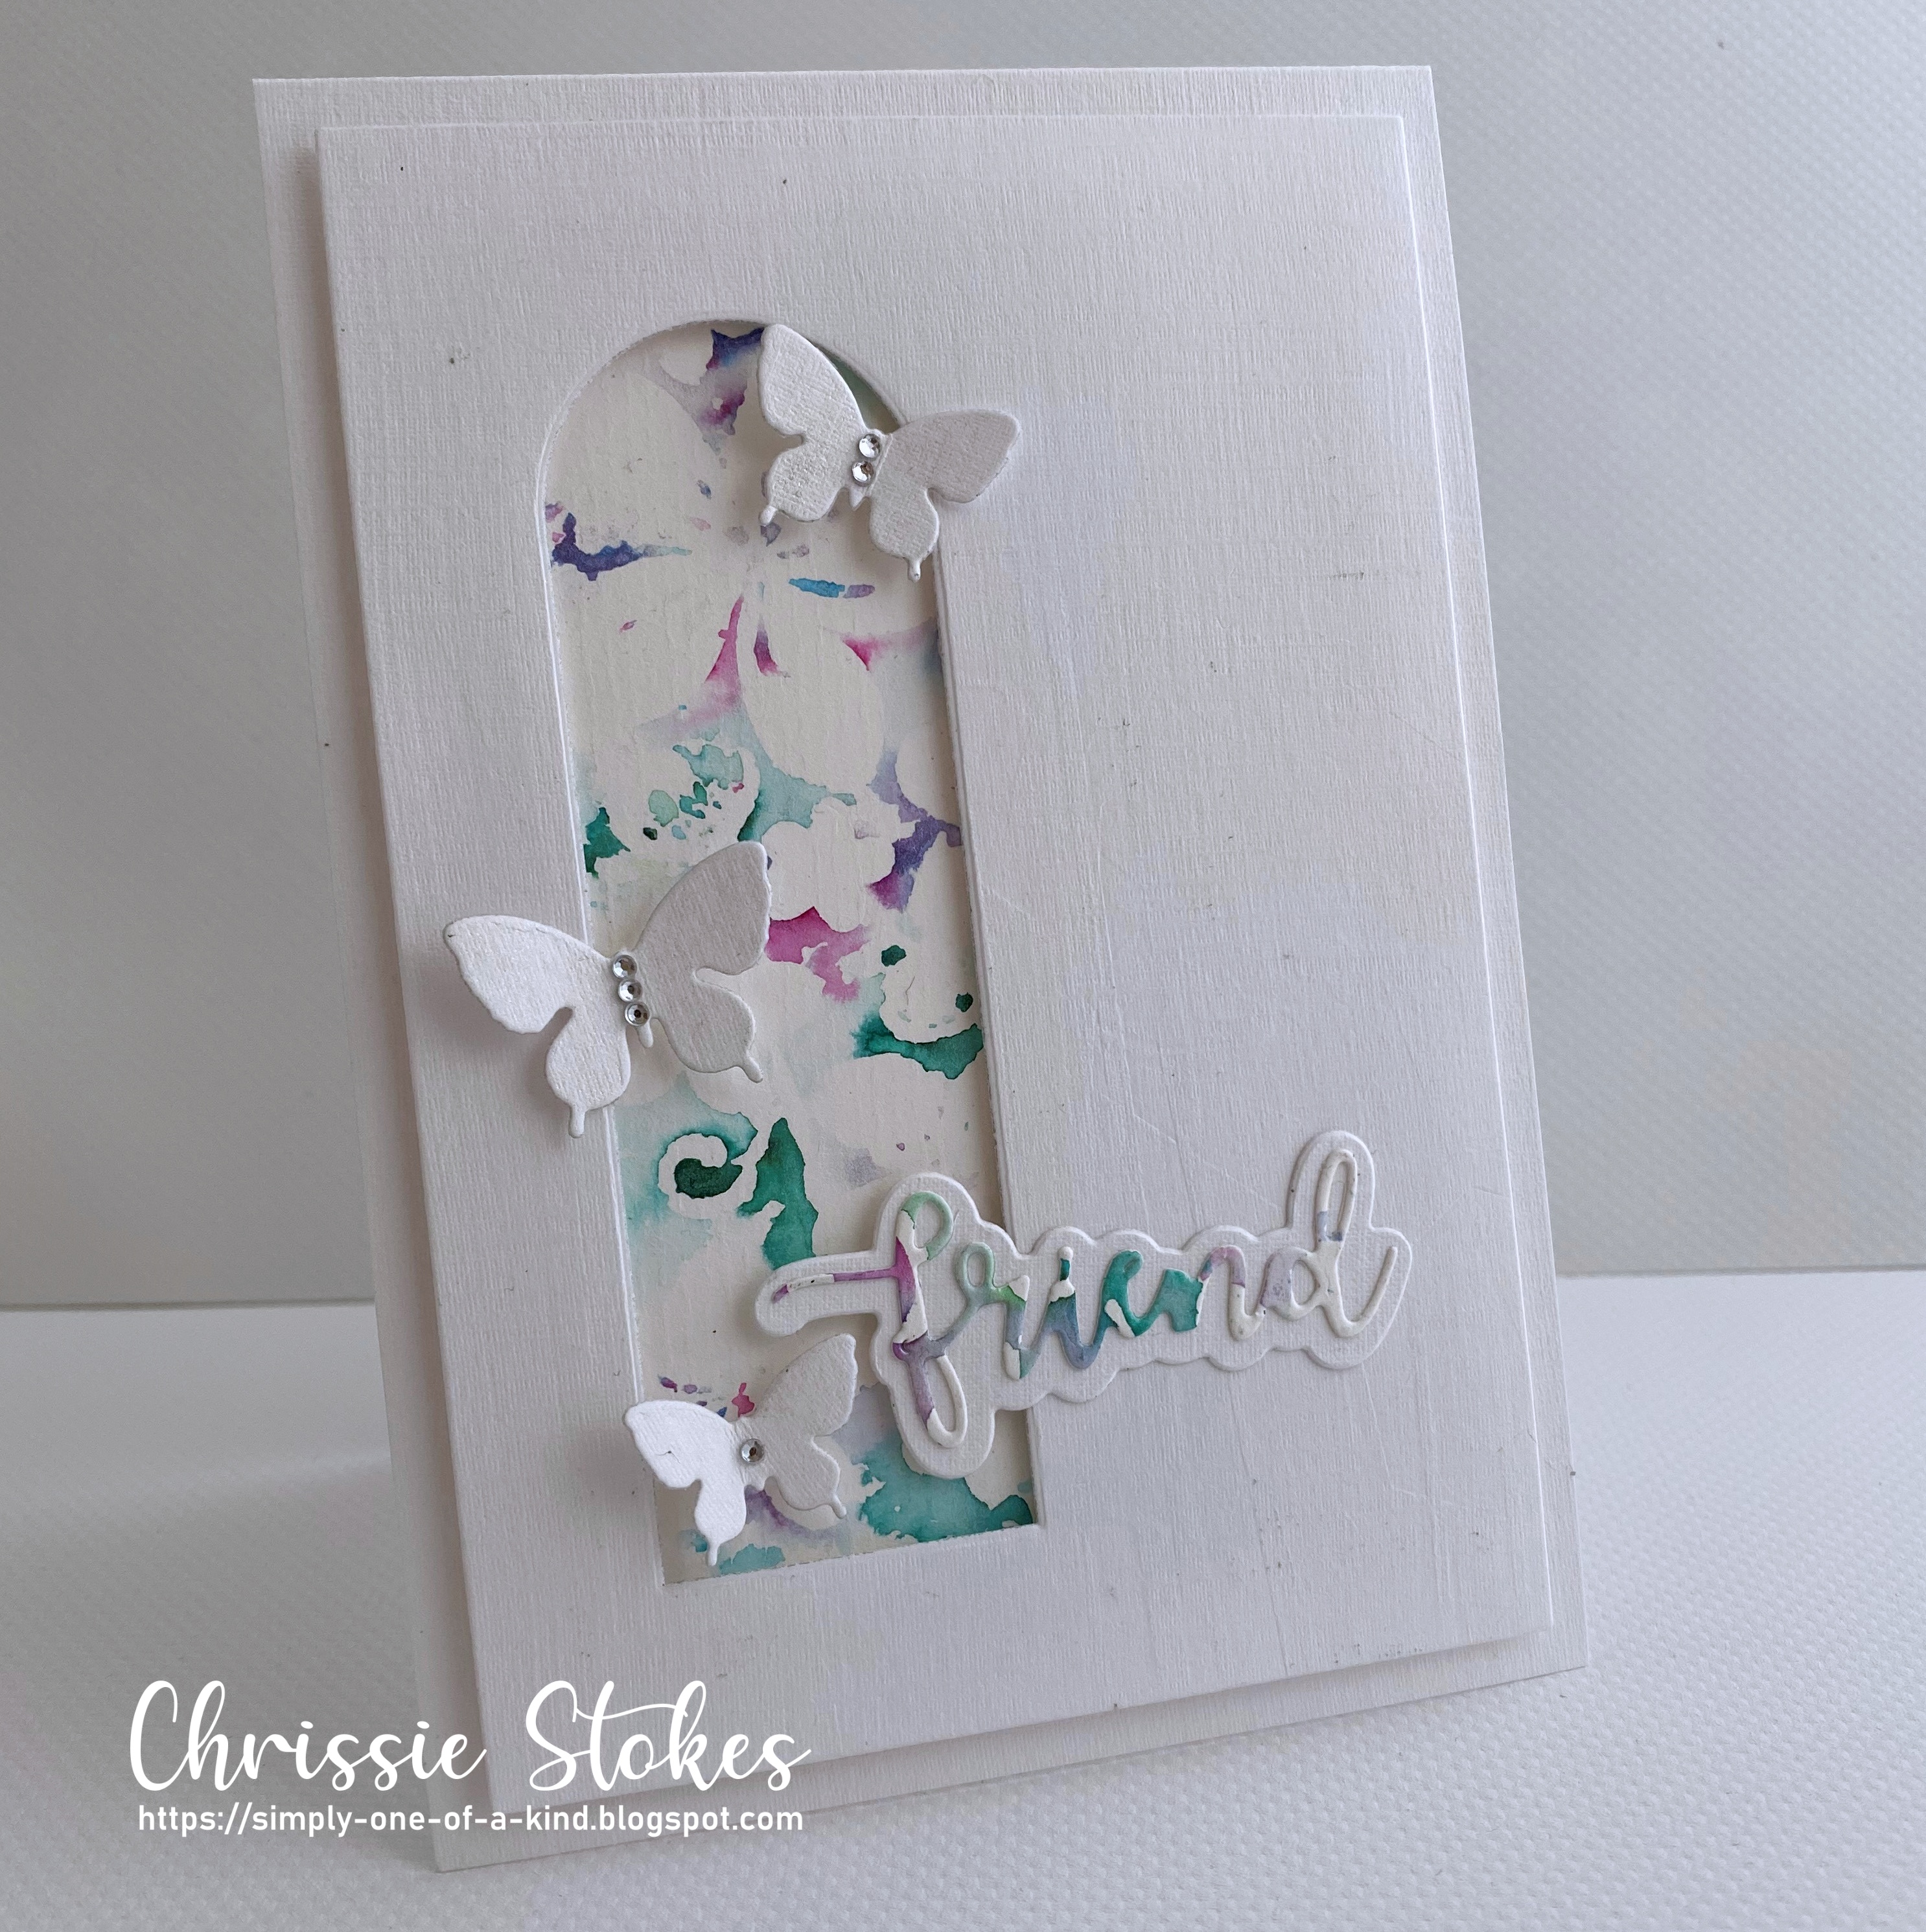
Friend


This is another of the backgrounds which I made during my latest video. I used Nuvo Shimmer powders with a floral stencil and took a print from the stencil as well as having the design through it. This is the print version. The arched die is by Photoplay, I'm unsure about the butterflies and I think the sentiment is by Whimsy stamps. When I get these things, I think I'll remember, but often don't and end up rummaging through the packaging (which I keep separately) to try to find out!
I really love the delicacy of this one!


Monday, 14 February 2022

Happy Birthday

The challenge at Just US Girls this time is to make your own stencil. I didn't actually use dies, as I often do, but used my cutting machine instead. I didn't do a brilliant job and and I've since ordered a new blade, but there was enough which cut properly for my purposes. I used my home made embossing paste and twinkled it with Glamour Dust. This is a link to a video which shows how I made the paste.
https://youtu.be/gfIae0VBFF8
The flowers are by Alexandra Renke and I shaped the bells with an embossing tool and added a little foam tape behind them to keep the shape.


Monday, 1 November 2021

Thanks


The new challenge over at CAS Mix Up is a Stencil Monoprint

Loll's Message
Stencil Monoprint is my favourite stencil technique.
You start by inking the stencil, spritzing with water or shimmer spray.
You turn it over onto a clean piece of card that can take water, pressing down with a paper towel to absorb any excess ink.

This gives you a negative image of your stencil.
Instead of colouring the design or image on a stencil, you are colouring the background.
I hope you enjoy this technique as much as I do.


Video Tutorials:

Welcome to our wonderful Guest Designer

I have done this technique before but not for quite some time... and having just done it again I can't think why it's been so long! It's great fun and gives a terrific effect.
I used a stencil from the Crafter's Workshop and inked it with Villainous Potion, Dusty Concord and Milled Lavender Distress Oxide inks before spritzing it with water and then taking a print from it. I love this tiny dot stencil and it makes for successful prints every time.
The butterfly is from Memory Box and with a few random pearls was finished.
It would be great to see lots of you joining in with this fun technique!


Sunday, 29 August 2021

You are amazing


Here is a little card I made using up some background I made some time ago. I used a stencil and some of what I call 'Relaxed' Shaving Foam technique. I mixed the foam with various shades of blue Distress Inks and left it to relax overnight. Instead of the usual marbling effect, it gives a more blurred effect. I spread some through a stencil and much of it seeped underneath and some transferred when wiping off the excess, but I rather like the overall effect!
I followed the sketch from Freshly Made Sketches
Allsorts -  Clean and Simple


Sunday, 15 August 2021

New Home


There's still time to join in the stencil challenge at CAS Mix Up


There is so much inspiration and examples on the blog so do head over there to take a look.

Here I used part of a honeycomb stencil, inked through with Wild Honey Distress Oxide Ink using a blending brush. With the stencil still in place I stamped with an old splatter stamp from SU using the same ink.
The two bees are really fiddly to assemble but once coloured with alcohol markers and covered with Nuvo Crystal Glaze I think they look really effective. I believe they are from Memory Box, but I can't find the packaging and I can't see them on the internet. If anyone could tell me definitively I would be grateful!
Craft Rocket Challenges Clean and Simple


Sunday, 1 August 2021

CAS Mix Up August Challenge


The other day I had a lovely surprise! I received an email from Loll Thompson, inviting me to join the Design Team at CAS Mix Up. I had decided that I would step down from all Designer obligations for a while as I seemed to have been involved with them for many, many years. However.... could I resist joining the team of my favourite challenge?  No, I could not. SO here I am with my first challenge as a designer with them.

This month it's Jenny's Challenge

Jenny's Message
I love this technique because it adds so much interest and depth to your stencilling. I personally find it easier to use a fairly open pattern to make it easier to get a good impression.
I can't wait to see what you create.


Video Tutorials: 
&

 
The thing that appealed to me so much with this challenge blog is the variety of techniques and  mediums involved with making cards for the challenges. This month's involves something which I have never done before... stamping through a stencil.
The stencil I used is a homemade one which I cut from acetate with my Silhouette Portrait. I used just a portion of it and inked with Distress Oxide ink in Salvaged Patina ink, using a blending brush. With the stencil still in place,  I stamped some splatters from SU's long retired French Foliage stamp set, using Memento London Fog ink. The sentiment, from Clearly Besotted, has been in my stash for quite some time, but must have been NBUS, as I had to condition it following several unsuccessful attempts at getting a decent image. I have always found Loll's method of wiping a new polymer stamp across one's forearm to be the most successful!
The die cuts are from Simply Graphic, a wonderful French company which I recently discovered.
I am grateful for the warm welcome to the team!
Why don't you head over to the CAS Mix Up blog and join in the fun!