Today sees the start of challenge number 200 for
Wow... has that time gone quickly!
I couldn't be more delighted that the challenge is still so popular, with submissions totalling around the 100 mark every week and contributors hailing from all parts of the globe.
A huge thank you to everyone who participates and of course to my fellow designers.
Let's hope everyone has fun with our Celebration theme this week.
This card is another masked, inked and stamped one, with a little embossing paste added for good measure.
The trees and sentiment were from a Penny Black set, free with a magazine and the snowflakes were embossed from a Memory Box stencil.. I just used the smaller ones from it. I sprinkled some embossing powder over the paste and waited until it was dry before heat setting it.
For the sky I used a combination of Shaded Lilac, Soft Sky and Weathered Wood Distress Inks, applied with sponge daubers. The trees were stamped with Peeled Paint and Forest Moss DIs.
Here is a simple card, stamped with Versamark and heat embossed with White EP. The stamps are from Stampin' Up. The problem with light coloured embossing powder on dark cardstock is eradicating extraneous grains of powder from areas other than the images themselves. I think nothing looks worse than careless embossing. I always use an antistatic bag before stamping and spend quite some time huffing and puffing together with either a fine paintbrush or a pokey tool to make sure that all errant grains are removed. It's amazing how one speck can spoil the overall effect of embossing!
The champagne was coloured with watercolour pencils and then covered with Glossy Accents.
This has an image from Visible Image, inked with three shades of Distress ink and spritzed with water before stamping. When dry it was overstamped with tiny dots and stars from a mini Lavinia stamp and embossed in gold.
The butterfly embossing at the bottom is from a Sizzix border embossing folder and I'm sad to say that I cracked my Cuttlebug machine in the process of doing it!
Update... I called Hobbycraft (from where the Cuttlebug was purchased) and the manager put a new one on one side for me which I picked up this morning!
Wonderful!
The sentiment is from Penny Black.
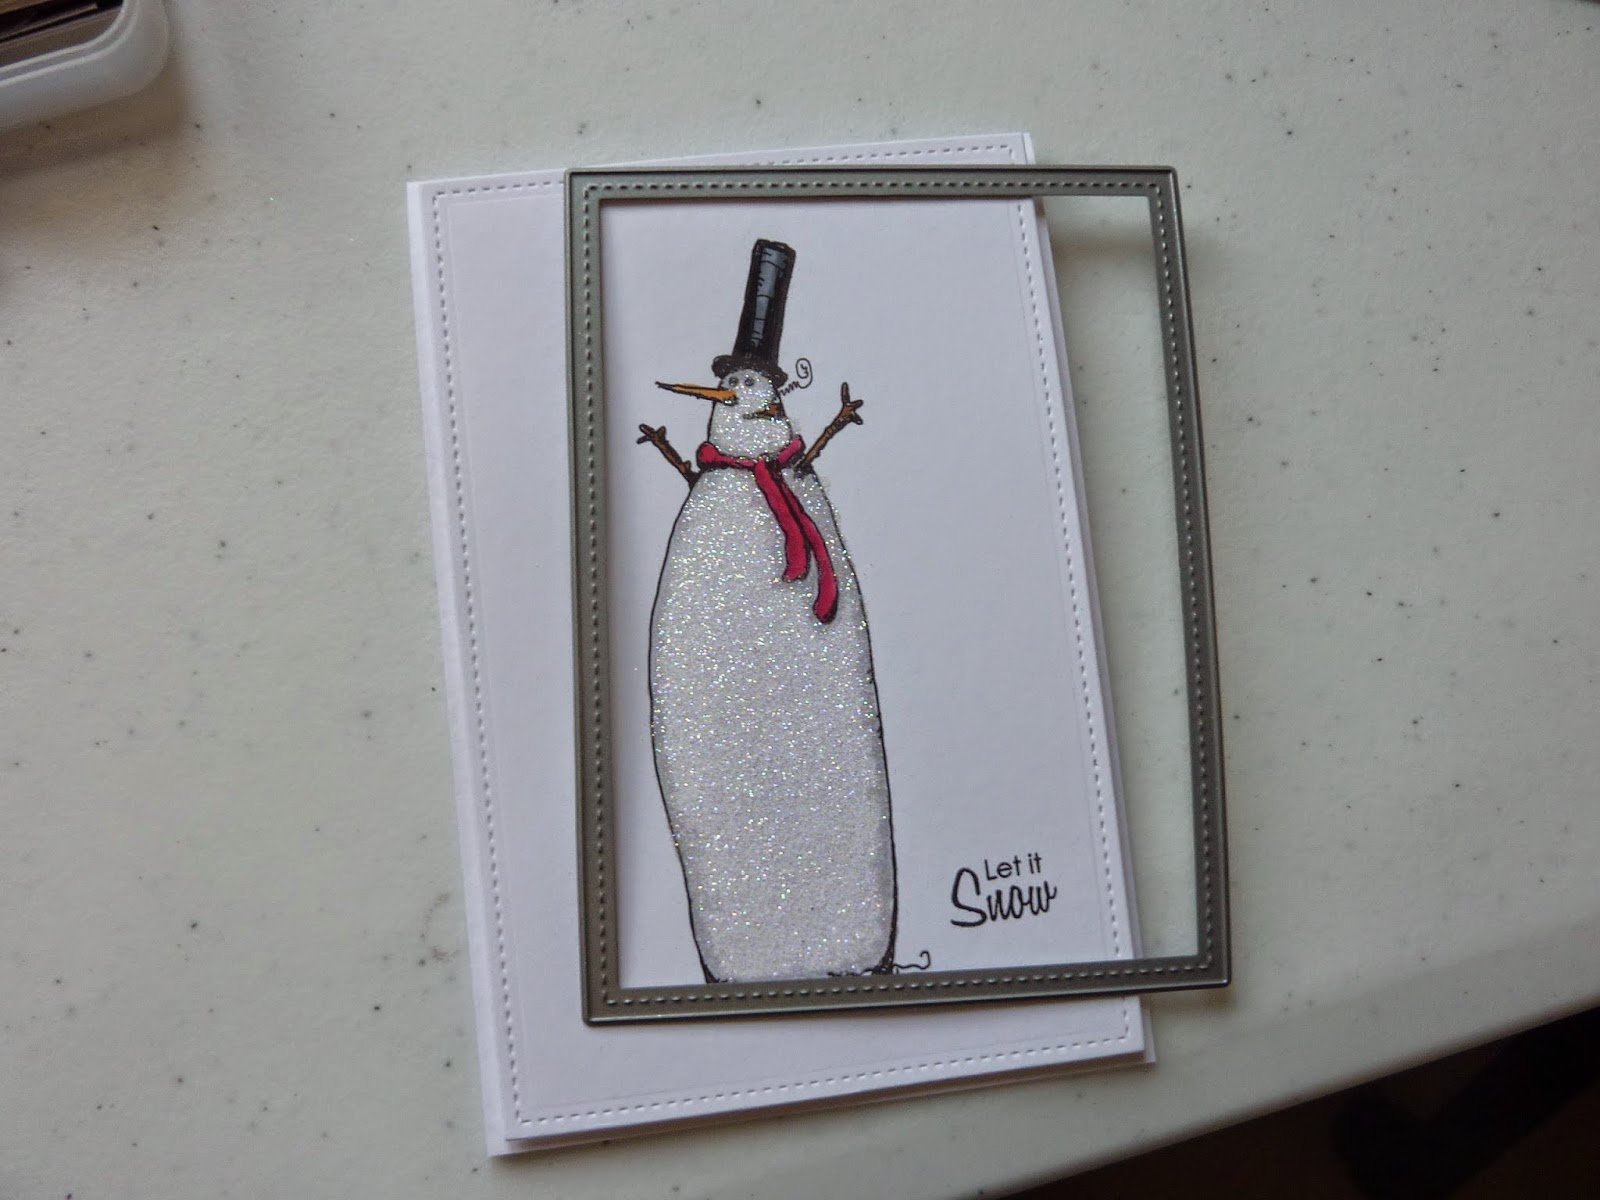
I tried to do one of those reverse die-cut thingies here, but there were too man
y fiddly bits to stick back in. The card behind the Memory Box wreath is holographic silver.
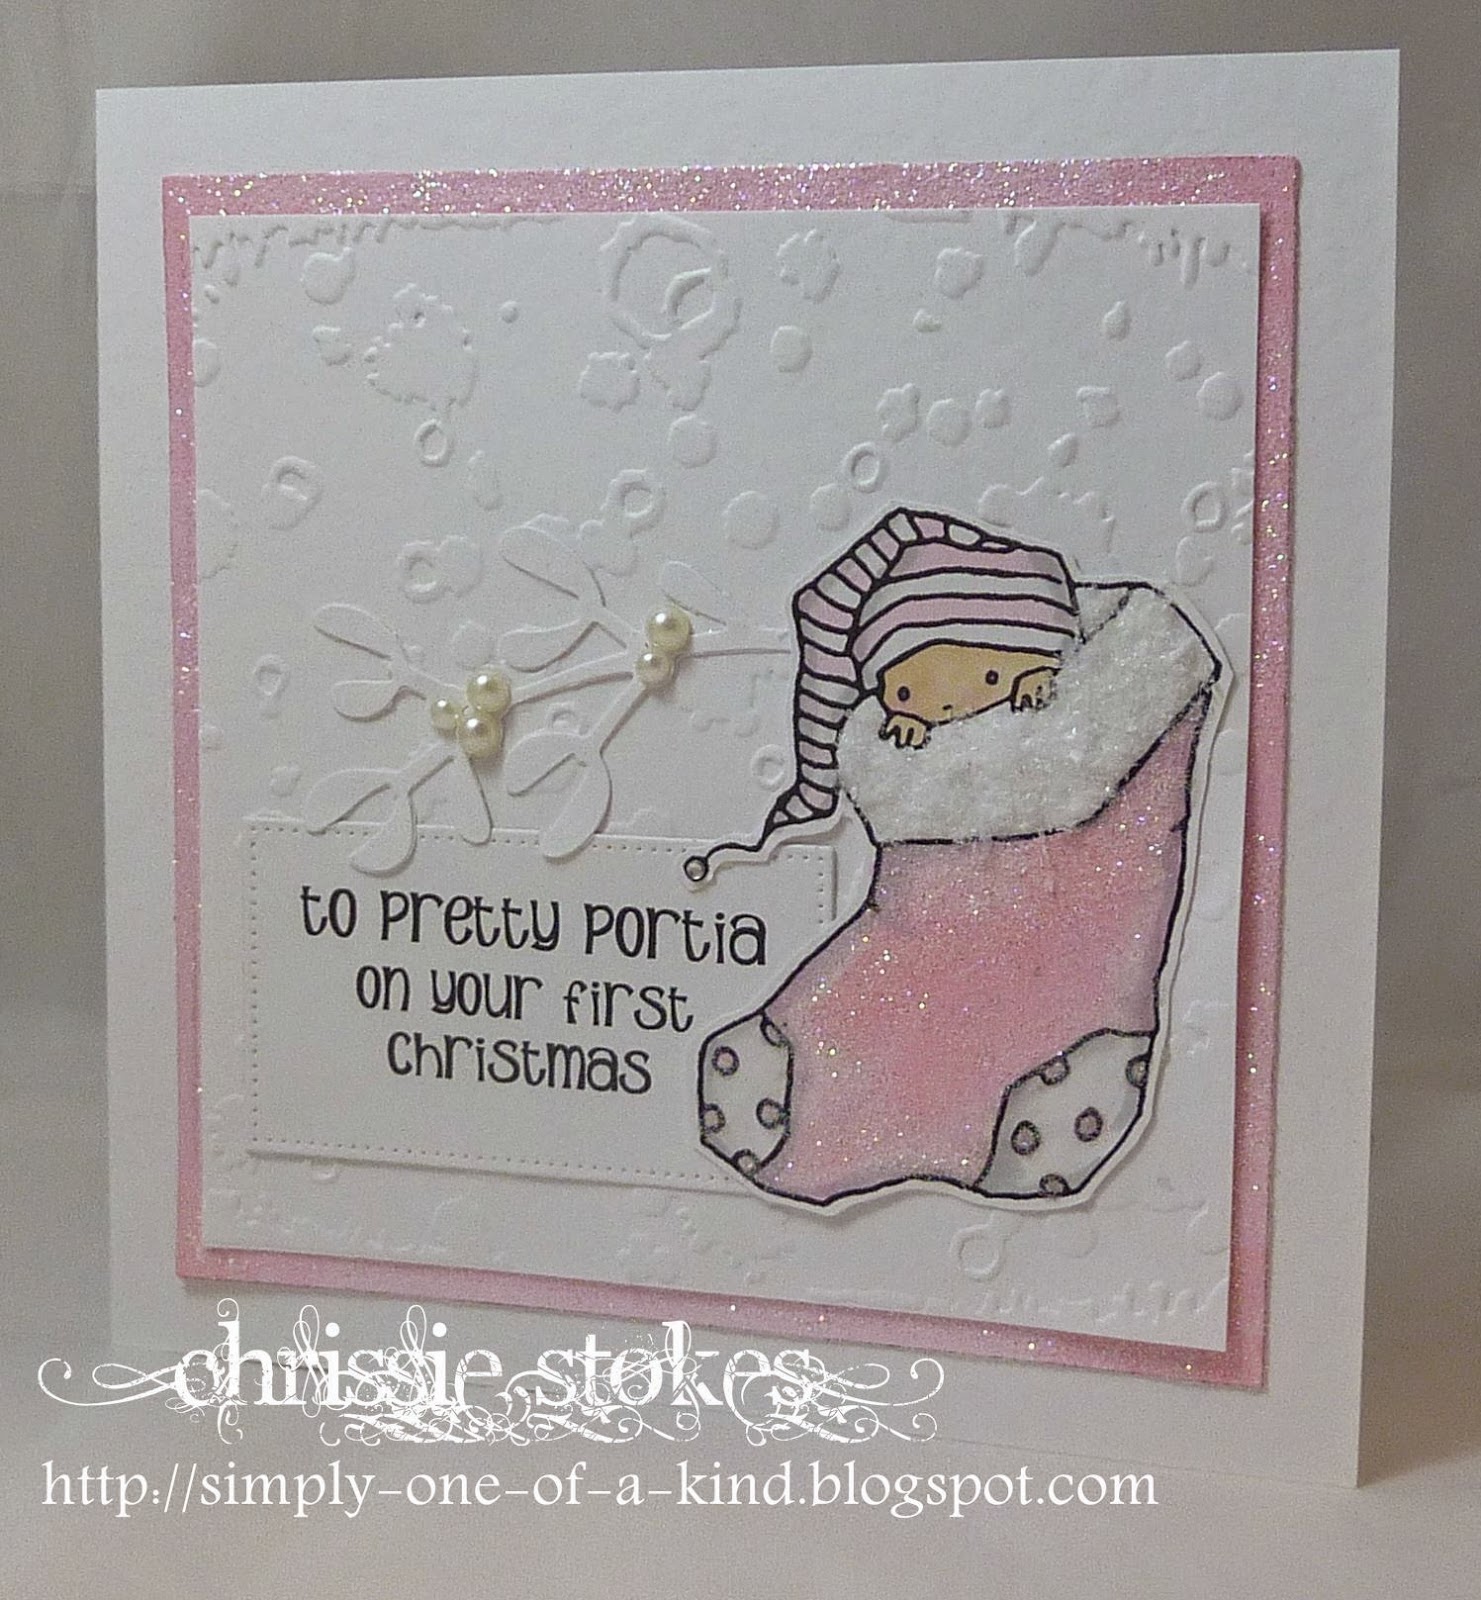
The sentiment is from Penny Black
I'll try to add some more cards here... but I don't know where the time has gone to this week!