Wednesday 22 January 2020

A New Stencil

The challenge over at CAS Stencil is to use a new Stencil!

Well this one couldn't be much newer as I only made it this morning and I haven't previously used the die to make a stencil either...in fact I think it's the first time the die has been used.
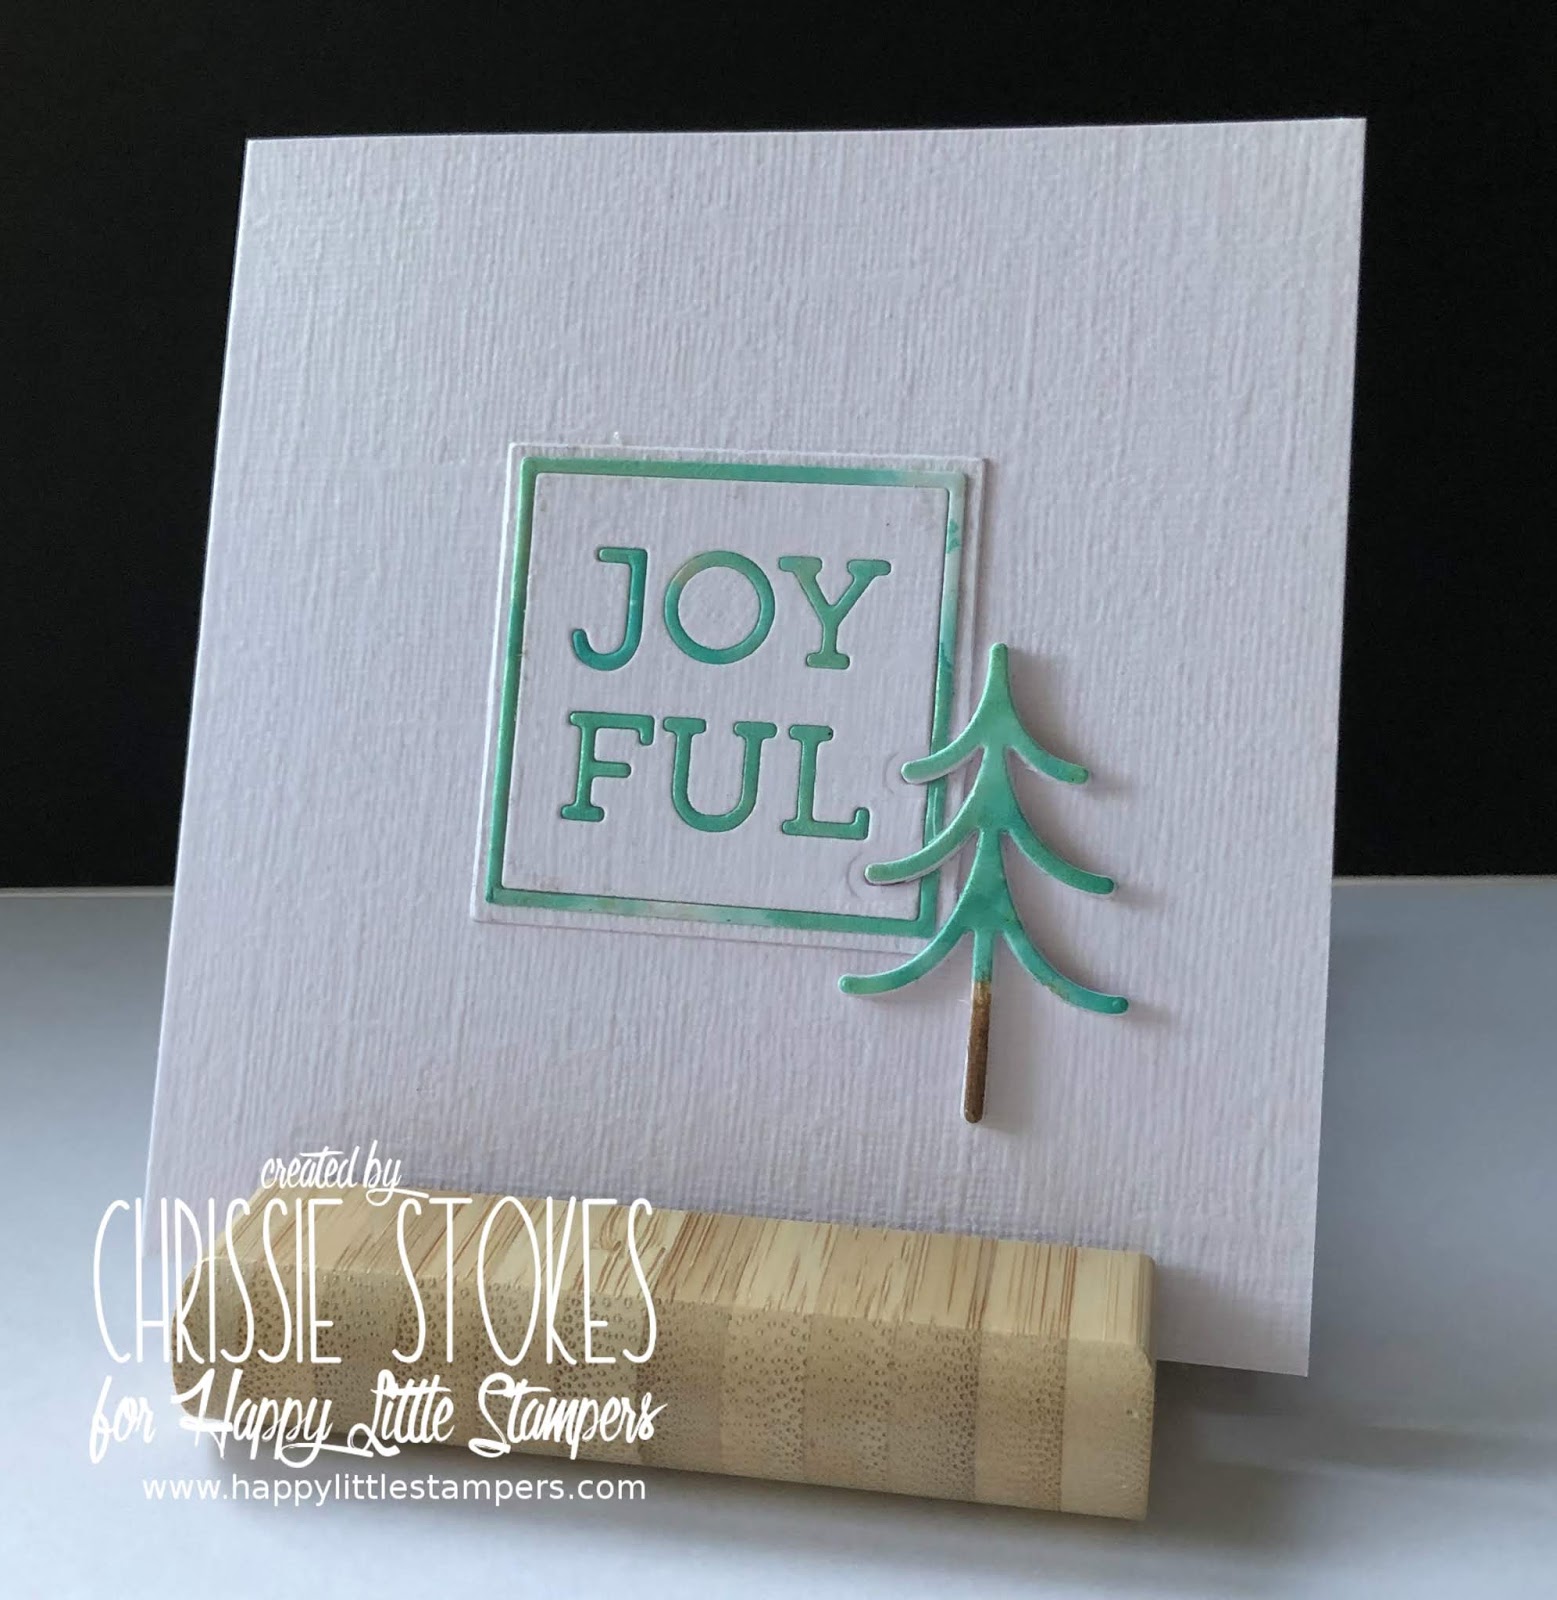
It's from Memory Box  and I cut the stencil from a piece of vellum. I wanted to use embossing paste but my homemade pot had dried up a little too much and although I tried to reconstitute it, it wasn't playing ball. I managed to dig out an old pot of Poppy Stencil embossing paste, but that too was on its last legs, but it just about coped.  I sprinkled on some WOW embossing powder and heat set it. The joy of using vellum stencils for embossing paste means that there is no clean up afterwards... I just toss the lot into the bin. The palette knife is the only thing that needs a wipe. The foliage die is by Alexandra Renke, which I stacked, adding a deep green bottom layer which I offset slightly. I simply added a few tiny pearls to the berry sections of the die cut.
The sentiment is from Clearly Besotted.
Job Done!
The design actually used the sketch from Case this sketch but inverted!

Tuesday 21 January 2020

Playing around with dies


Last week the lady sitting next to me at my choir asked me to make a 70th Birthday card for her sister. She comes from a very musical family! Their cousin was the much acclaimed composer, John Tavener.  Among a host of beautiful music, he composed the music sung by the choir at Westminster Abbey, Song for Athene,  as Diana's coffin was being taken from the church. 
The birthday girl is a pianist and loves plants and gardening. I decided to play around with my dies to see if I could make a piano. I used a curved die for the piano, extending it slightly by cutting with scissors and rounding the edge with an embossing tool to make it more like the die cut part.. I used a tag /frame die for the music stand and scattered a few foliage die cuts on the body of the piano. The keyboard is a proper die.. no alteration needed! I think it was from Memory Box.
I made the sentiment in Word and  cut the '70' with my Silhouette Portrait.

Loss of Mojo!


I seem to have had a little difficulty recently in making something which has really pleased me. I start off with what I think are reasonable ideas but somehow they just haven't totally come off. This has had the effect of me leaving with lots of projects either unsatisfactory in my eyes, or not quite finished. This is one such. In principle and in my head the idea seemed ok, but it's just not quite what I thought it would be.
It's for the challenge at CAS Christmas

ABC Christmas 'A' Anything Goes

This one follows the sketch at CASe This Sketch

I don't often use completely untextured card and for some reason when there's a lot of it in evidence it sometimes feels a little bland. I bought a pack of smooth card to fulfil a request to make large flowers for a charity I have supported by making Thank you cards for them, for sometime. I have a little left so I guess I must find the best way to use it. Some card is great for colouring  and blending with markers, some for use with watercolour, some for stamping, some for pastes etc. I think experimentation is called for.
The daisy die is from Pink Fresh Studios, mounted over a square die-cut, stamped with an SU grunge stamp. I don't recall the make of the foliage die. The sentiment is from a set of tiny, really useful sentiments from Sugar Pea designs.

Tuesday 14 January 2020

Love Flowering

I haven't used this stamp from Penny Black for quite some time, but it is perfect for a one layer card. I stamped it in SU Crumb Cake and embossed the sentiment in gold. Simplicity itself. I can see where the manufacturer got the name of the stamp from... the blooms do look a little like hearts don't they!
It's my DT card for the Perfectly CAS One Layer challenge.
I added a little clear Wisp of  Stella over the image to add a little interest.

I'm sure that one layer cards are not as scary as they once were for many crafters, so do have a go and join us!

Tuesday 7 January 2020

Quick post


This will have to be a quick post as I'm about to set off for the Midlands. I'm off to see various family members. My brother has just been taken into a hospice, his wife is just leaving hospital after breaking her arm in a fall,  my other brother has just had a second hip replacement, his wife is receiving chemo following cancer surgery and I'm due for an arthroscopy next month! What a jolly family!
This card is for the challenge at CAS MIX Up.

Both the bunnies and the circle were partially die cut.. as in fact was the front panel... as I have an American stitched die from SSS which doesn't fit the front of a British card cut from a sheet of A4. I have to cut the die from both ends in order to stretch the die cut to fit the base.
The bunnies were just shaded gently with a little grey Promarker and the tails given a dab of Fun Flock.
The background was just a watercolour wash sky!
Sorry it's so brief but I must be off!

Saturday 4 January 2020

Joyful


I thought that this last year I was well ahead with Christmas card makes, but what with the ones that I sold at my choir to raise choir funds, requests from friends for sets of cards and ones for personal use, I had to start on a last minute production line once more. This year I will try to do better.
This is a very small card, about 10.5 cms square with which I used inlaid dies. Firstly I coloured a piece of card with Brusho and mica powder and  spritzed with water. When dry, I die cut the pieces and also cut a set from plain white card. The joy of this technique is that you end up with a positive and a negative so making two cards instead of one. The tiny tree is layered several times, so as it wouldn't sit neatly overlapping the plaque I die cut a space in the SSS die-cut for it to sit in.

It's such a good idea to join in with Christmas challenges throughout the year, so that you have a ready supply when required, so do join us at Happy Little Stampers!

Thursday 2 January 2020

Totally excited

Those of you who are not new to my blog probably know of my penchant for chickens... in many forms and particularly those from Penny Black!
Here is a one layer card, coloured with watercolour pencils and a little water, (so as not to show through on the inside of the card). The sentiment, which also happens to be the name of the stamp, was done on the computer. I always try to match the font I use to the stamp... for style and weight of line etc. I think this one... Kristen ITC works quite well here.
The challenge at Happy Little Stampers CAS is for something with wings. So it doesn't have to be a one layer card, just something with lots of white space and .... wings of some sort!

Do come and join in the fun!

CAS Watercolour Guest Designer


Loll and Bonnie must put in hours of work to make their Challenge Blogs so informative, interesting, stimulating, challenging and downright fun!
The Watercolour challenge this time is to use Cool Colours and I am simply delighted to have been invited to be a Guest Designer for this challenge


For my card I began by stamping a My Favorite Things background stamp with Versamark and embossing in Silver.
I then spritzed it with water and added some sprinkles of Brusho powders and spritzed some more, dabbing with a paper towel and adding more powder and water until I got an effect which I liked. I then dried it off with my heat tool.
This kind of card always makes two versions.... the negative and the positive. I cut the SSS Tulip die from the centre of the coloured, embossed  card and then three or four layers from white card, which I stacked and then inlaid the coloured sections from the first cut. 

This is the card which I made with the remaining die cuts. I recessed the tulip die-cut and added a dry embossed backdrop for it, to add a little interest. I chose a folder with similar lines to the die cut and the original stamping. Not quite so CAS as the first card but still has fairly clean lines. The frame is mounted on dimensional pads.