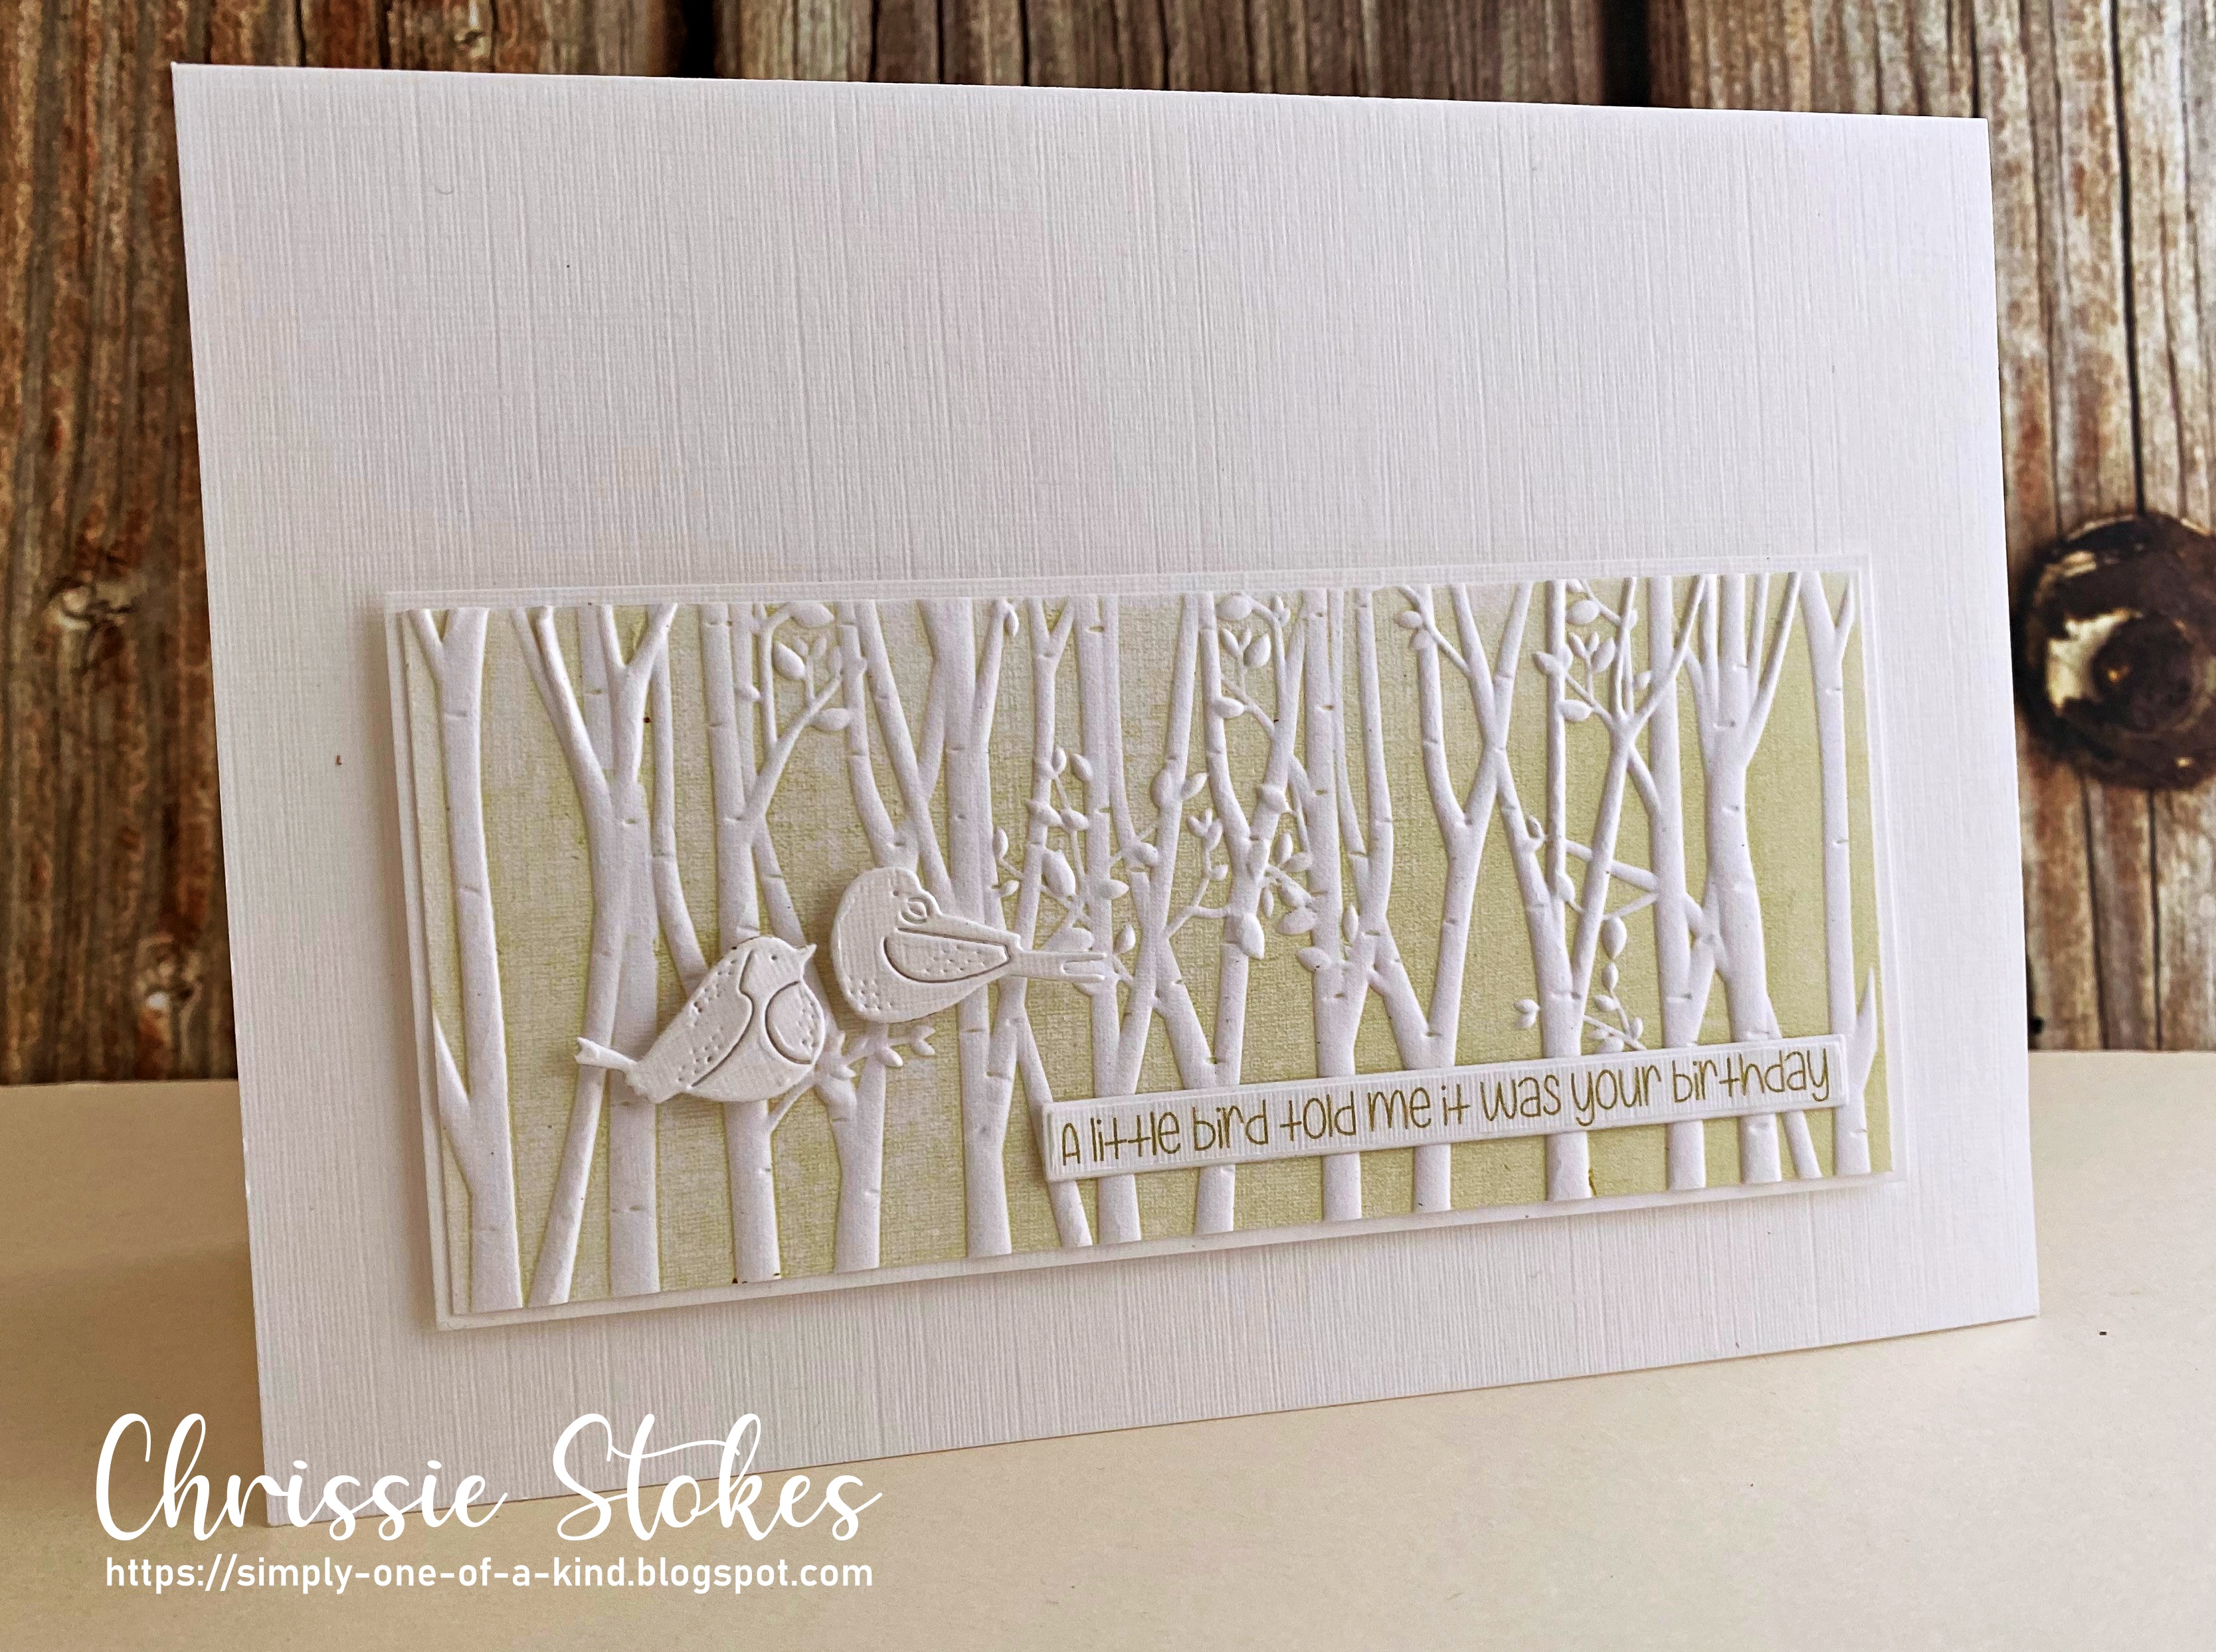
and remembered a little die set from Charlie and Paulchen so I thought I would have a go.
I selected the centre rectangle for my image which I coloured with a variety of marker pens. I think he's such cute chap!
I made this video on how I did the colouring!
I made a slight faux pas with adding the image to my card and stuck him on the back of the card, but a simple bit of cutting had made it a panel to be mounted onto the front of a new card base!
This time it's to use Gesso together with a stencil
Hilary, one of the designers, is hosting this challenge and here is her message.
Hilary's Message
Gesso is primarily a surface primer that gives a uniform surface and is often used in mixed media projects, but in reality it can be much more than that. This month we would love to see you use gesso on your card along with your stencils. I have included some video links below to help inspire you.
I have to admit that I'm a little in the dark as to the use of Gesso. I bought some many moons ago, meaning to get to grips with its use, but so far haven't really done so. When searching for the Gesso I found a pot of Micro Beads in the same drawer. They may well be banned now as I'm not really sure that they are environmentally friendly, but I just used some of them for this card. I cut a stencil from Mylar using my Silhouette Portrait cutting machine and applied some Gesso through it, sprinkling on some micro beads whilst it was still wet. In the pot they looked just translucent, but once on the gesso took on a silvery look. I don't suppose that this is a recognised technique, but I thought it looked ok!
The Gummiapan butterfly was cut from a piece of card on which I had used this tissue paper technique.
The sentiment is by Poppy Stamps, with a little silver gilding wax added to match the butterfly.
Do join in the fun if you have some gesso, if you don't there are recipes that you can use to make some for yourself. I'm going to try out some and I'll report back!
So have fun, have a go and come on over to CAS Mix Up for this fun challenge!
Some of you may know that some time ago I made a video using a new technique, whereby the front of a piece of vellum was embossed with white embossing powder, then the paper turned over and stamped on the back using the same stamp, but in a coloured ink. The effect is really pretty especially if the image has spaces where the stamping on the reverse can show through. here I used a rose leaves stamp by Impression Obsession. The thank you is by Memory Box and I used some of the vellum for the shadow part of the die cut, adding a white payer beneath it to allow the stamping to show through, This is popped up onto foam tape. I think that the overall effect is really delicate.
The folks at Split Coast Stampers asked me to do a tutorial for them and you can find that here
Double stamped Vellum
This is a second video which I made using the technique.